2. Create Forms
2.1 What is a Form Builder?
A form builder is a tool that lets users create and customize online forms easily, without coding. It offers a simple interface to add fields, configure settings, and manage notifications.
• It provides various form elements, such as text fields, checkboxes, dropdown menus, and more, enabling users to design forms suited to their specific needs.
• Form builders often integrate with other tools and platforms, automating processes like data collection, notifications, and reporting, which enhances efficiency and productivity.
2.2 Why do most people use form Builders?
• It allows you to quickly create web forms and gather data professionally.
• Embed or share forms effortlessly without advanced technical skills.
• Receive notifications instantly whenever a form is submitted.
• Easily view and manage all responses in one centralized location.
• Download responses in Excel, CSV, or PDF formats for convenience.
• Analyze and share form reports with colleagues to enhance conversion strategies.
• Access real-time alerts and browse responses on mobile devices.
To use File Upload
1. In the Form Builder select File Upload from Form Fields
2. Select your File Upload’s gear icon to open properties.
3. In the properties on the right, click on advanced and you can select your desired validation and specify your file type
2.3 How to create Contant Form for your Website?
• Contact forms are essential tools for users to quickly connect when they need help, want to give feedback, or share reports and ideas. However, building a contact form from scratch can be time-consuming, difficult, and frustrating.
• Munshify Form Builder makes it easy to create sleek, professional contact forms in just a few minutes.
• With its user-friendly drag-and-drop interface, extensive customizable fields, and seamless integration capabilities, Munshify simplifies the entire process.
• Whether you need a simple contact form or something more intricate, Munshify is the ideal solution for crafting high-quality forms with ease.
To set up a contact form in Munshify Form Builder, please follow the steps below.
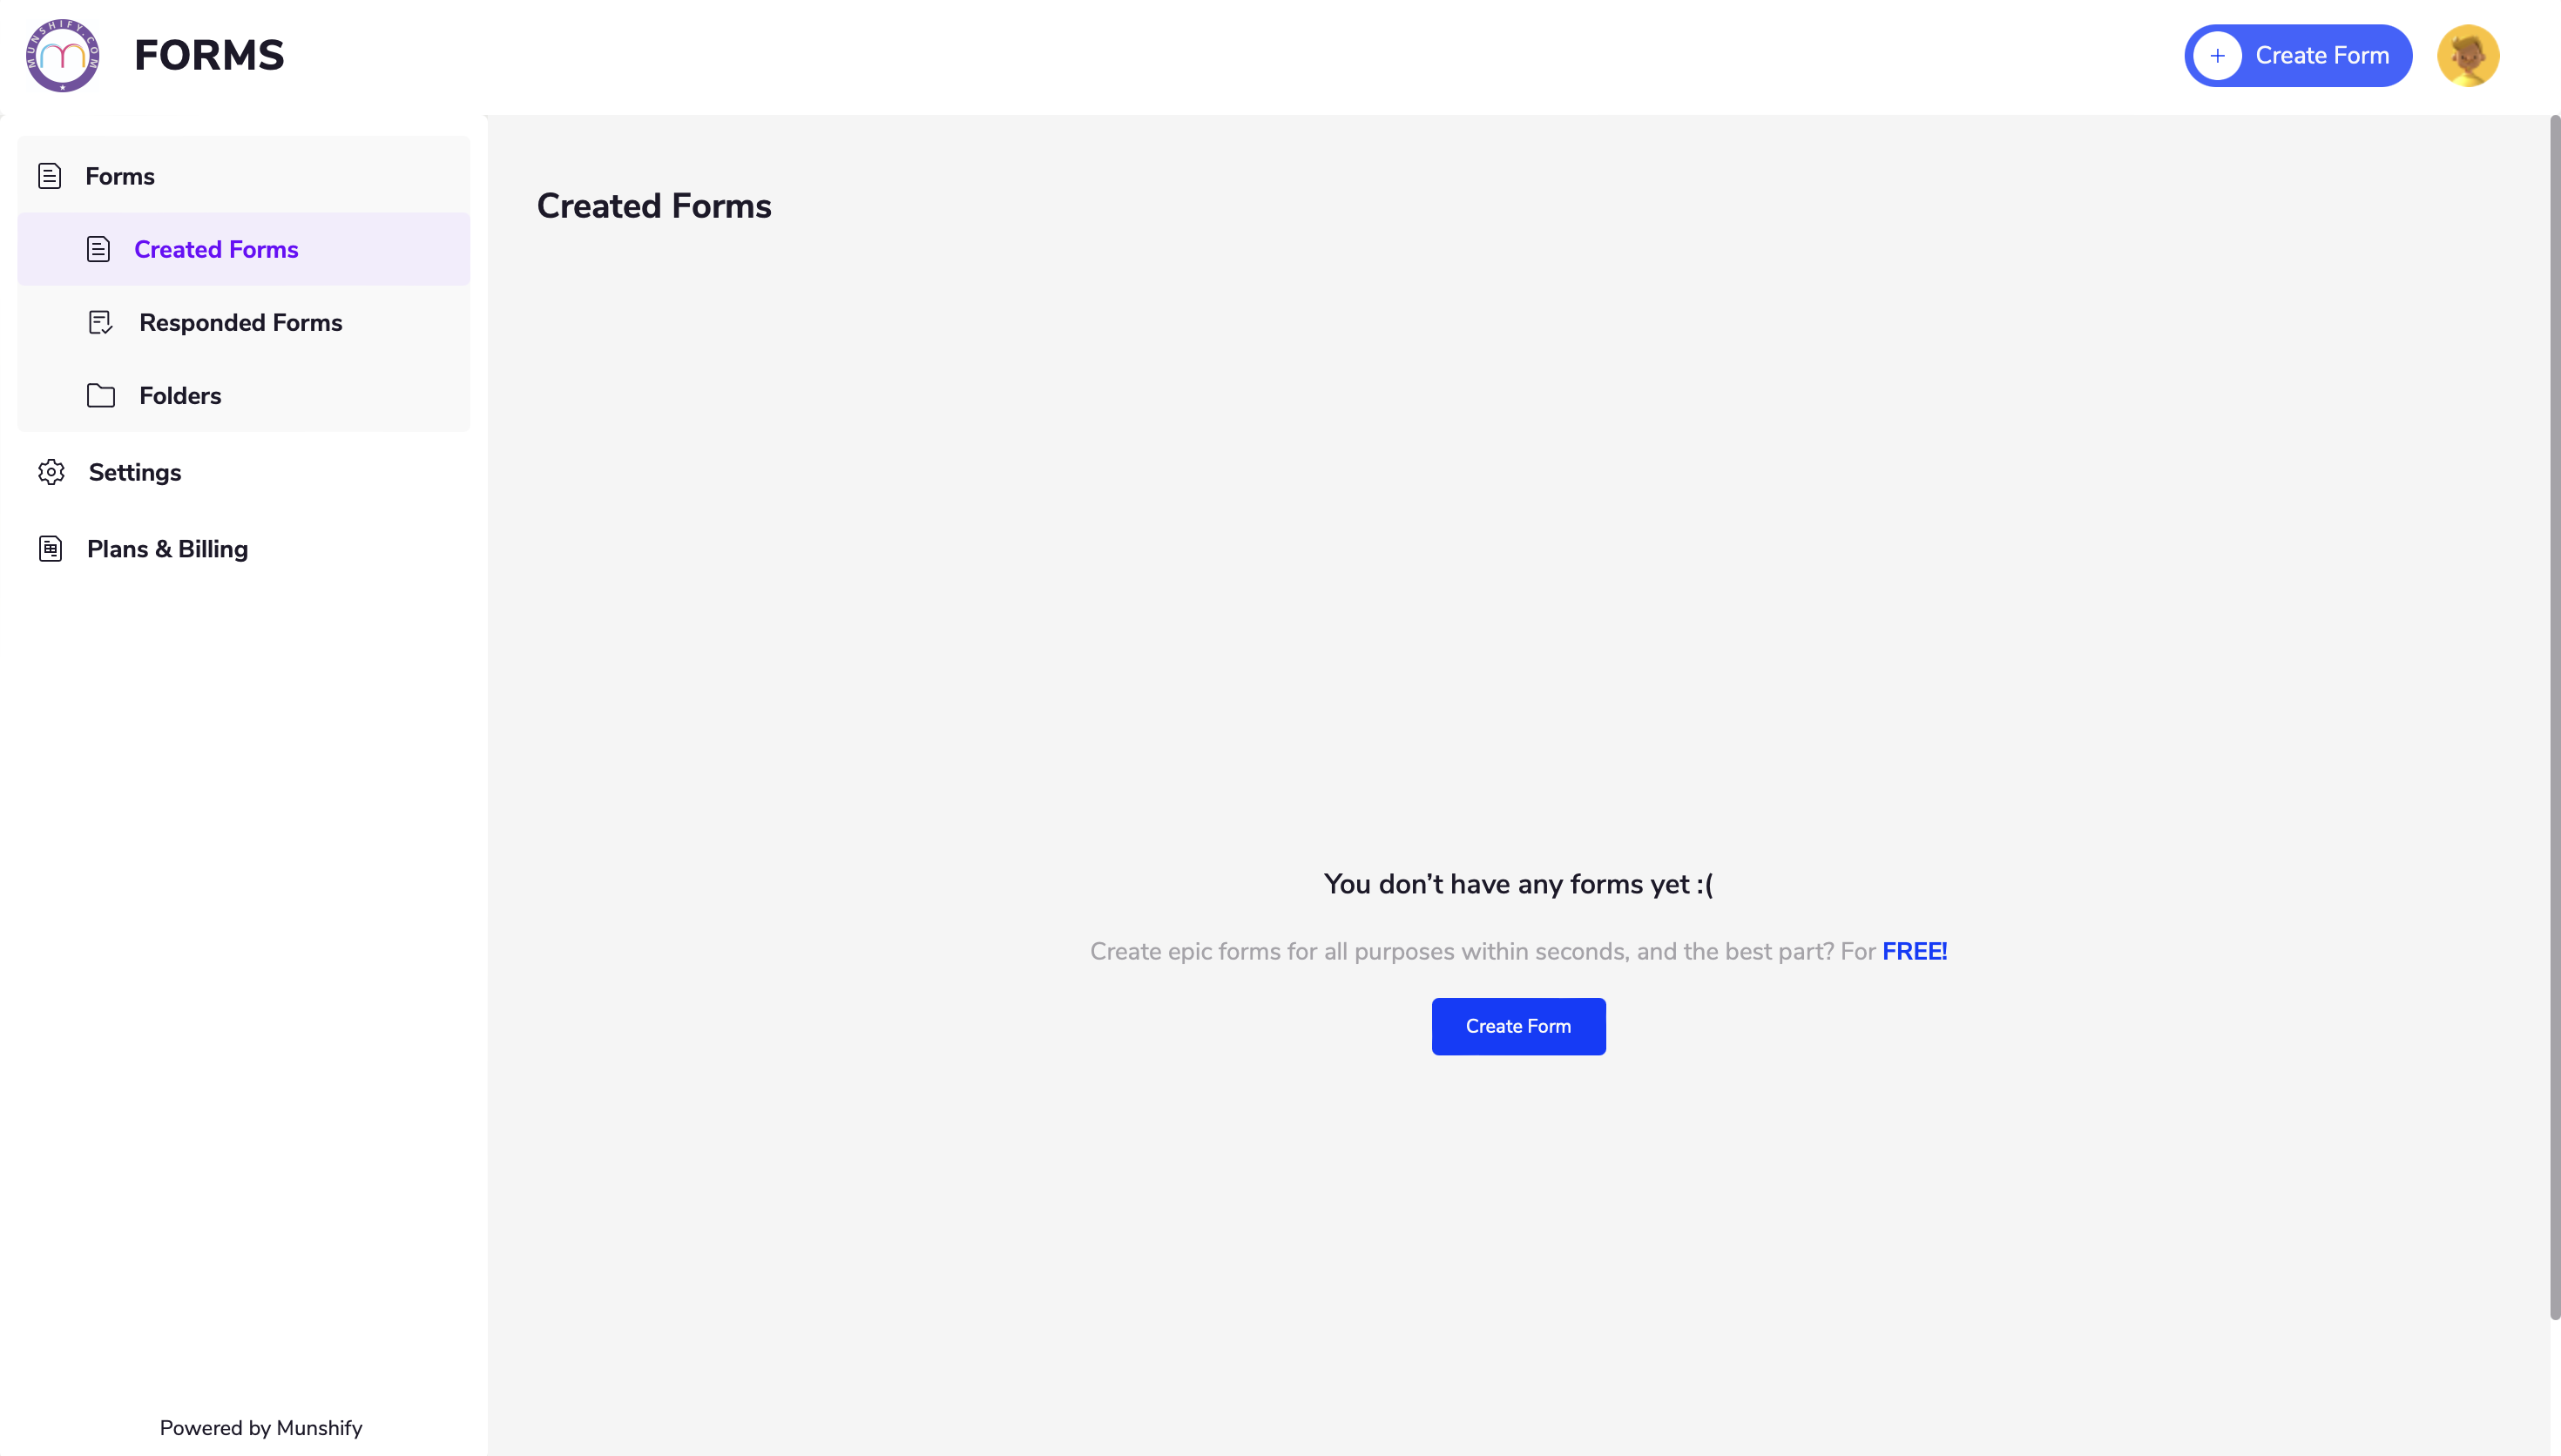
2. Log in and create a form by clicking the Create Form button on the right side.
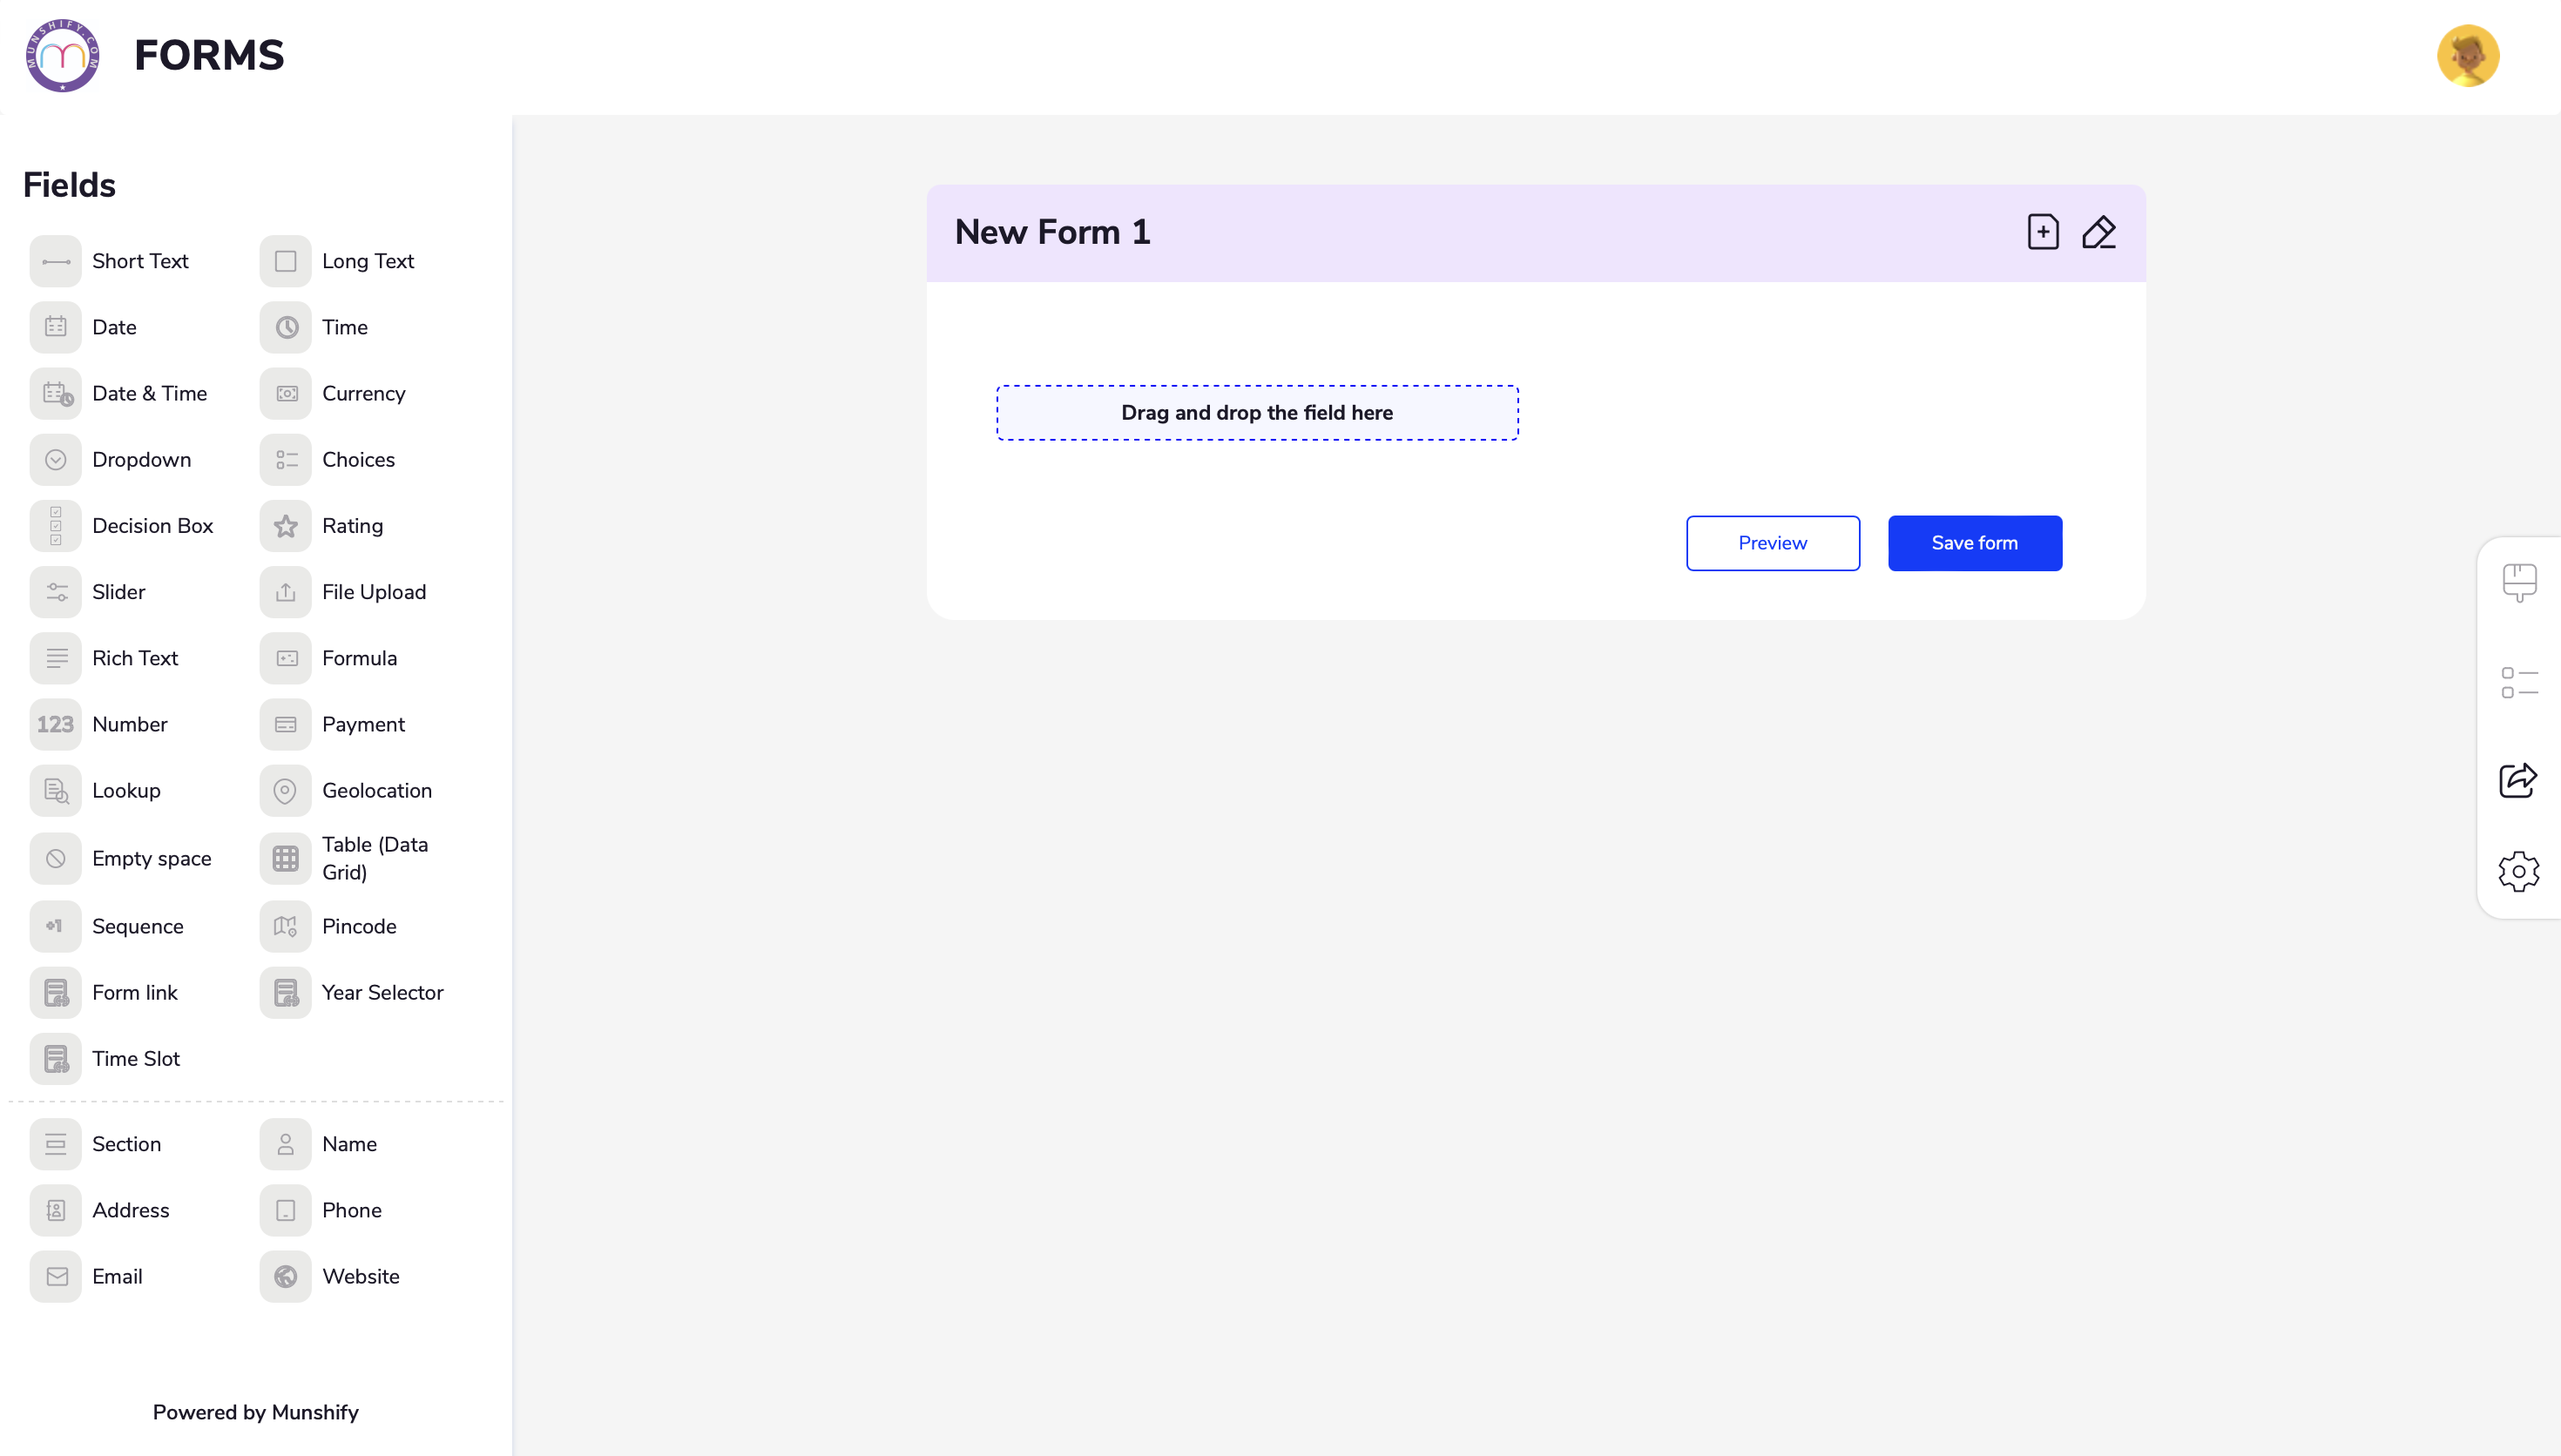
3. Let’s create a form from scratch so we can look at all the Munshify Form features
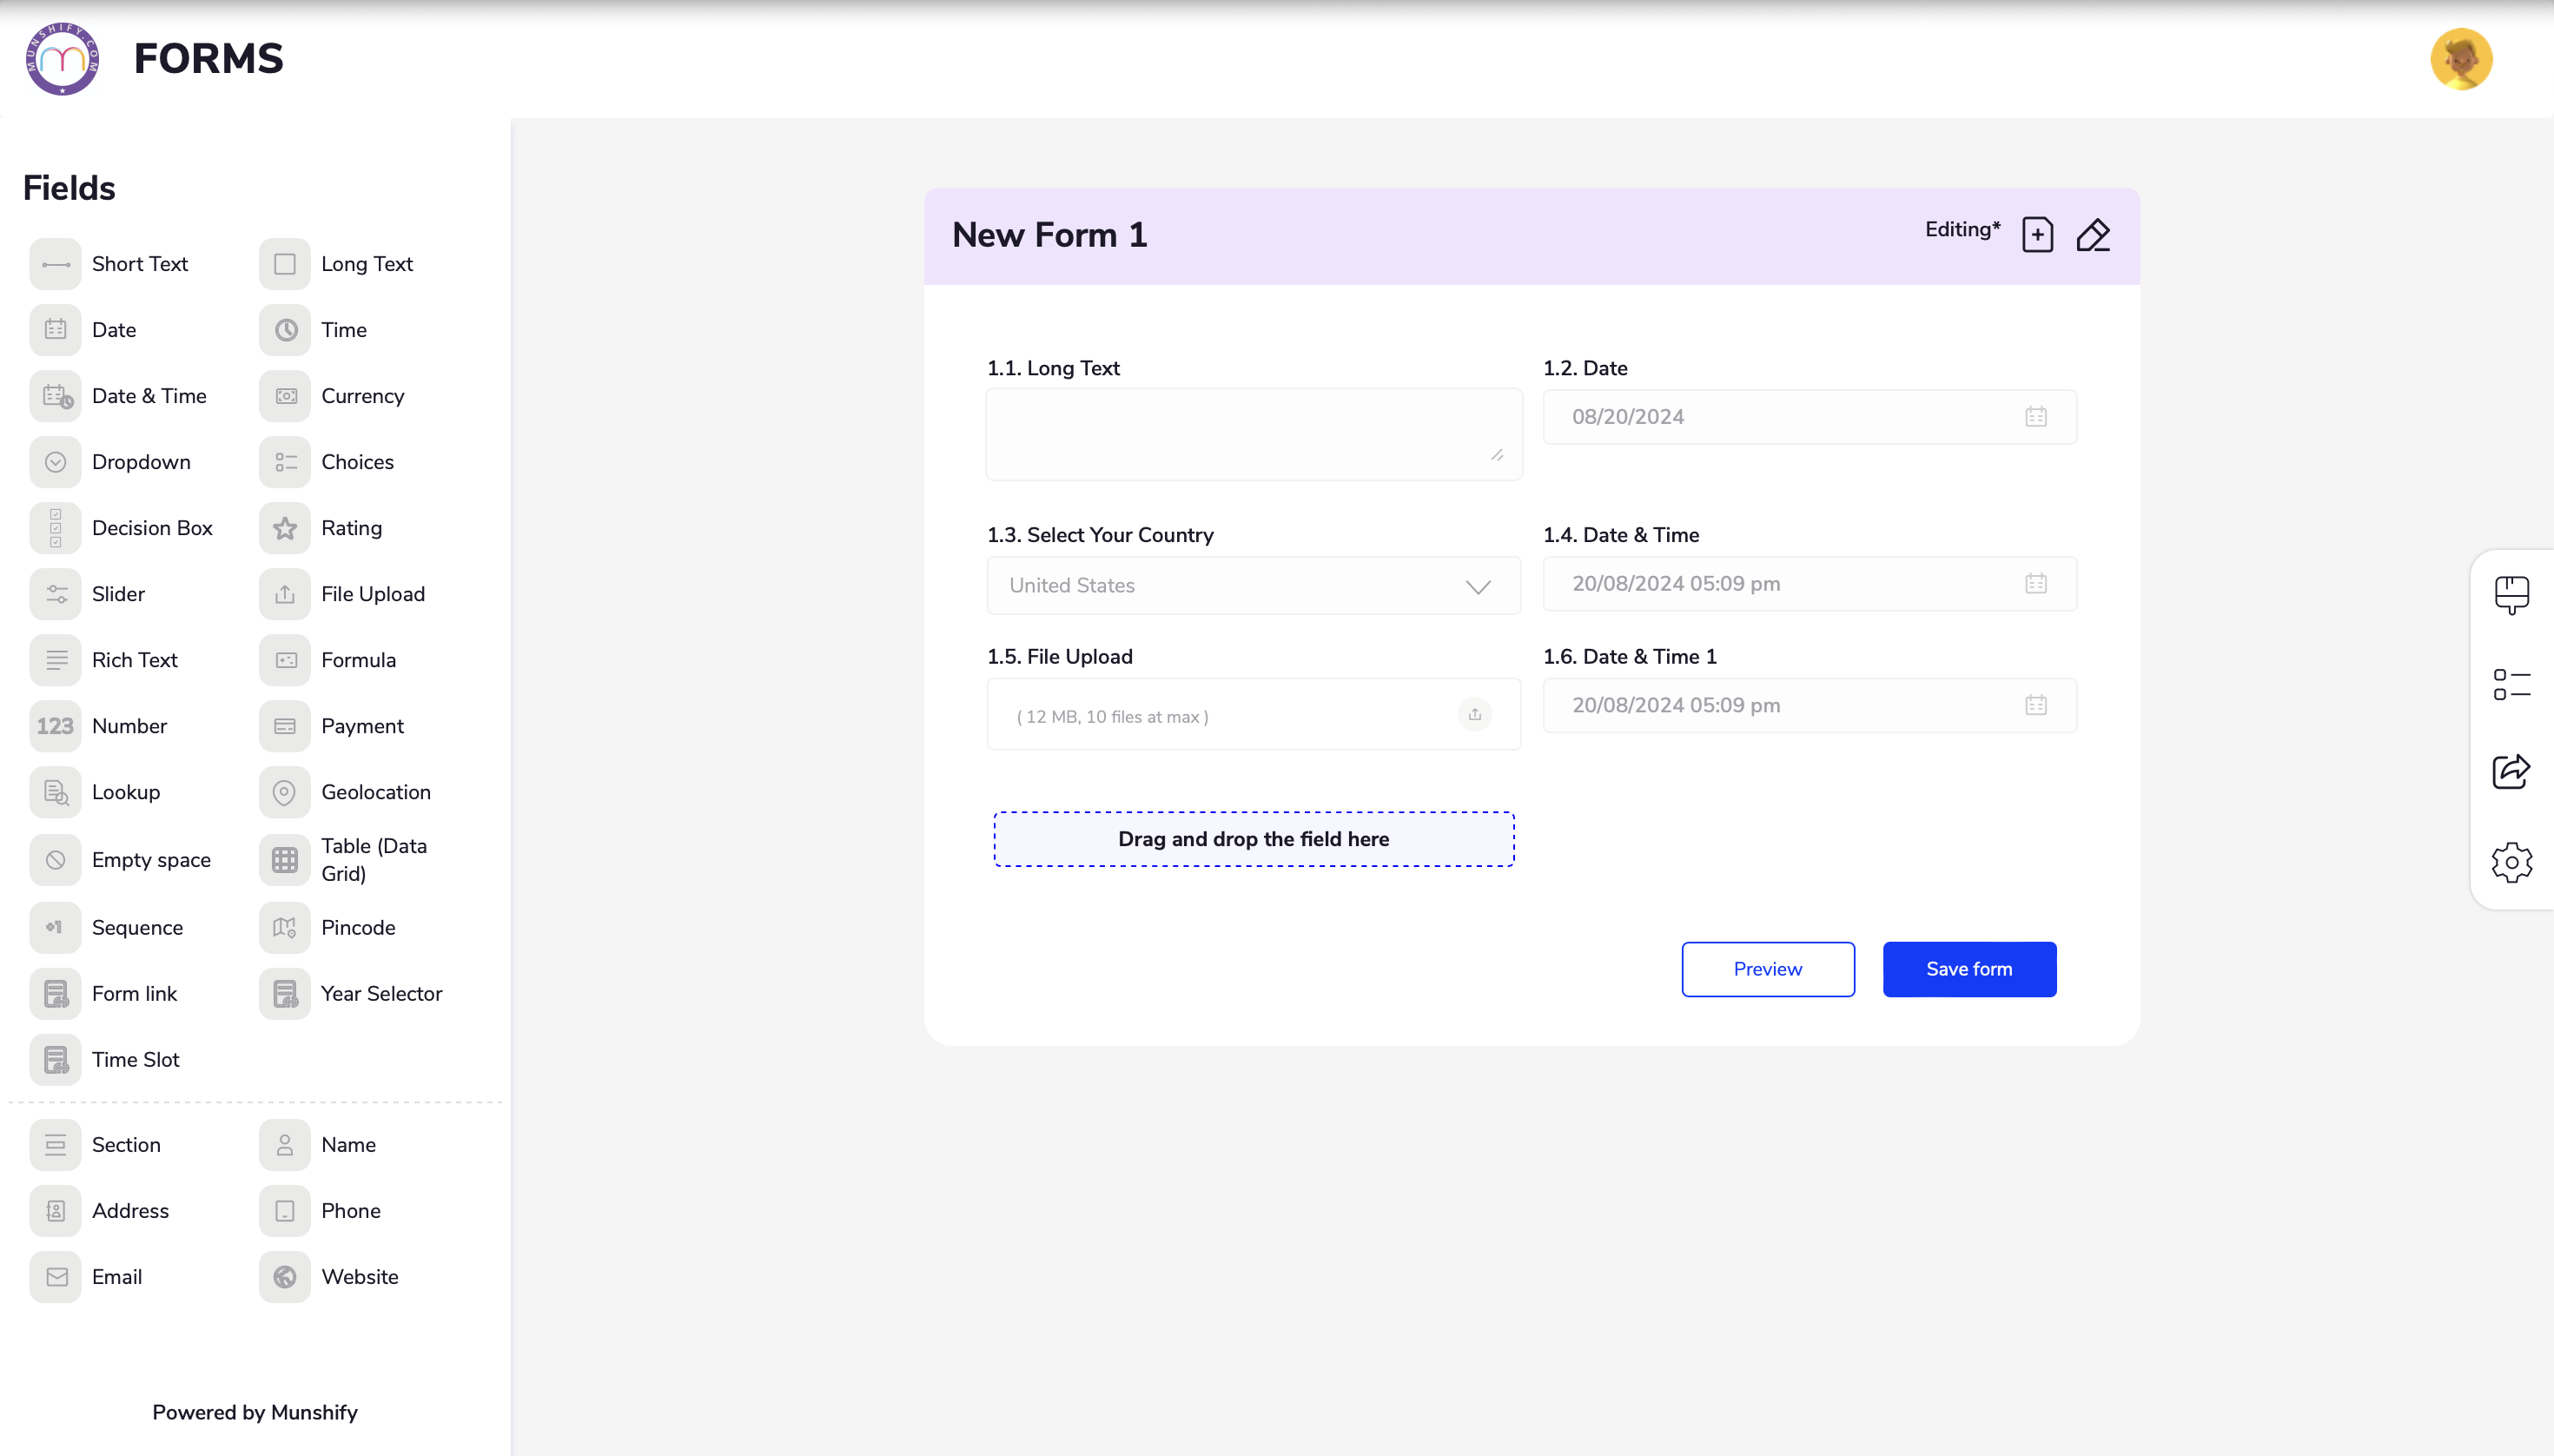
4. While you are in the Form Builder, select or drag the elements from the Form
5. Once your done with adding all the elements to your Form you can save it.
“Contact us” is a vague term that can be interpreted in many ways. To ensure your users understand the purpose of the contact form, it’s important to be more specific. How can you do this? Add a subheading.
• Completing a form can sometimes be challenging. Utilizing sublabels, hints, placeholders, hover texts, and paragraph elements can help reduce errors.
• Include additional information wherever it’s helpful or necessary. Below is an example of a field with some of these aids.
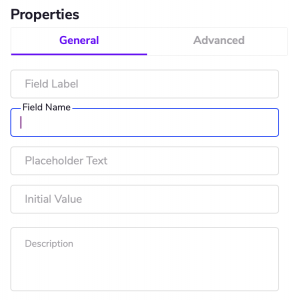
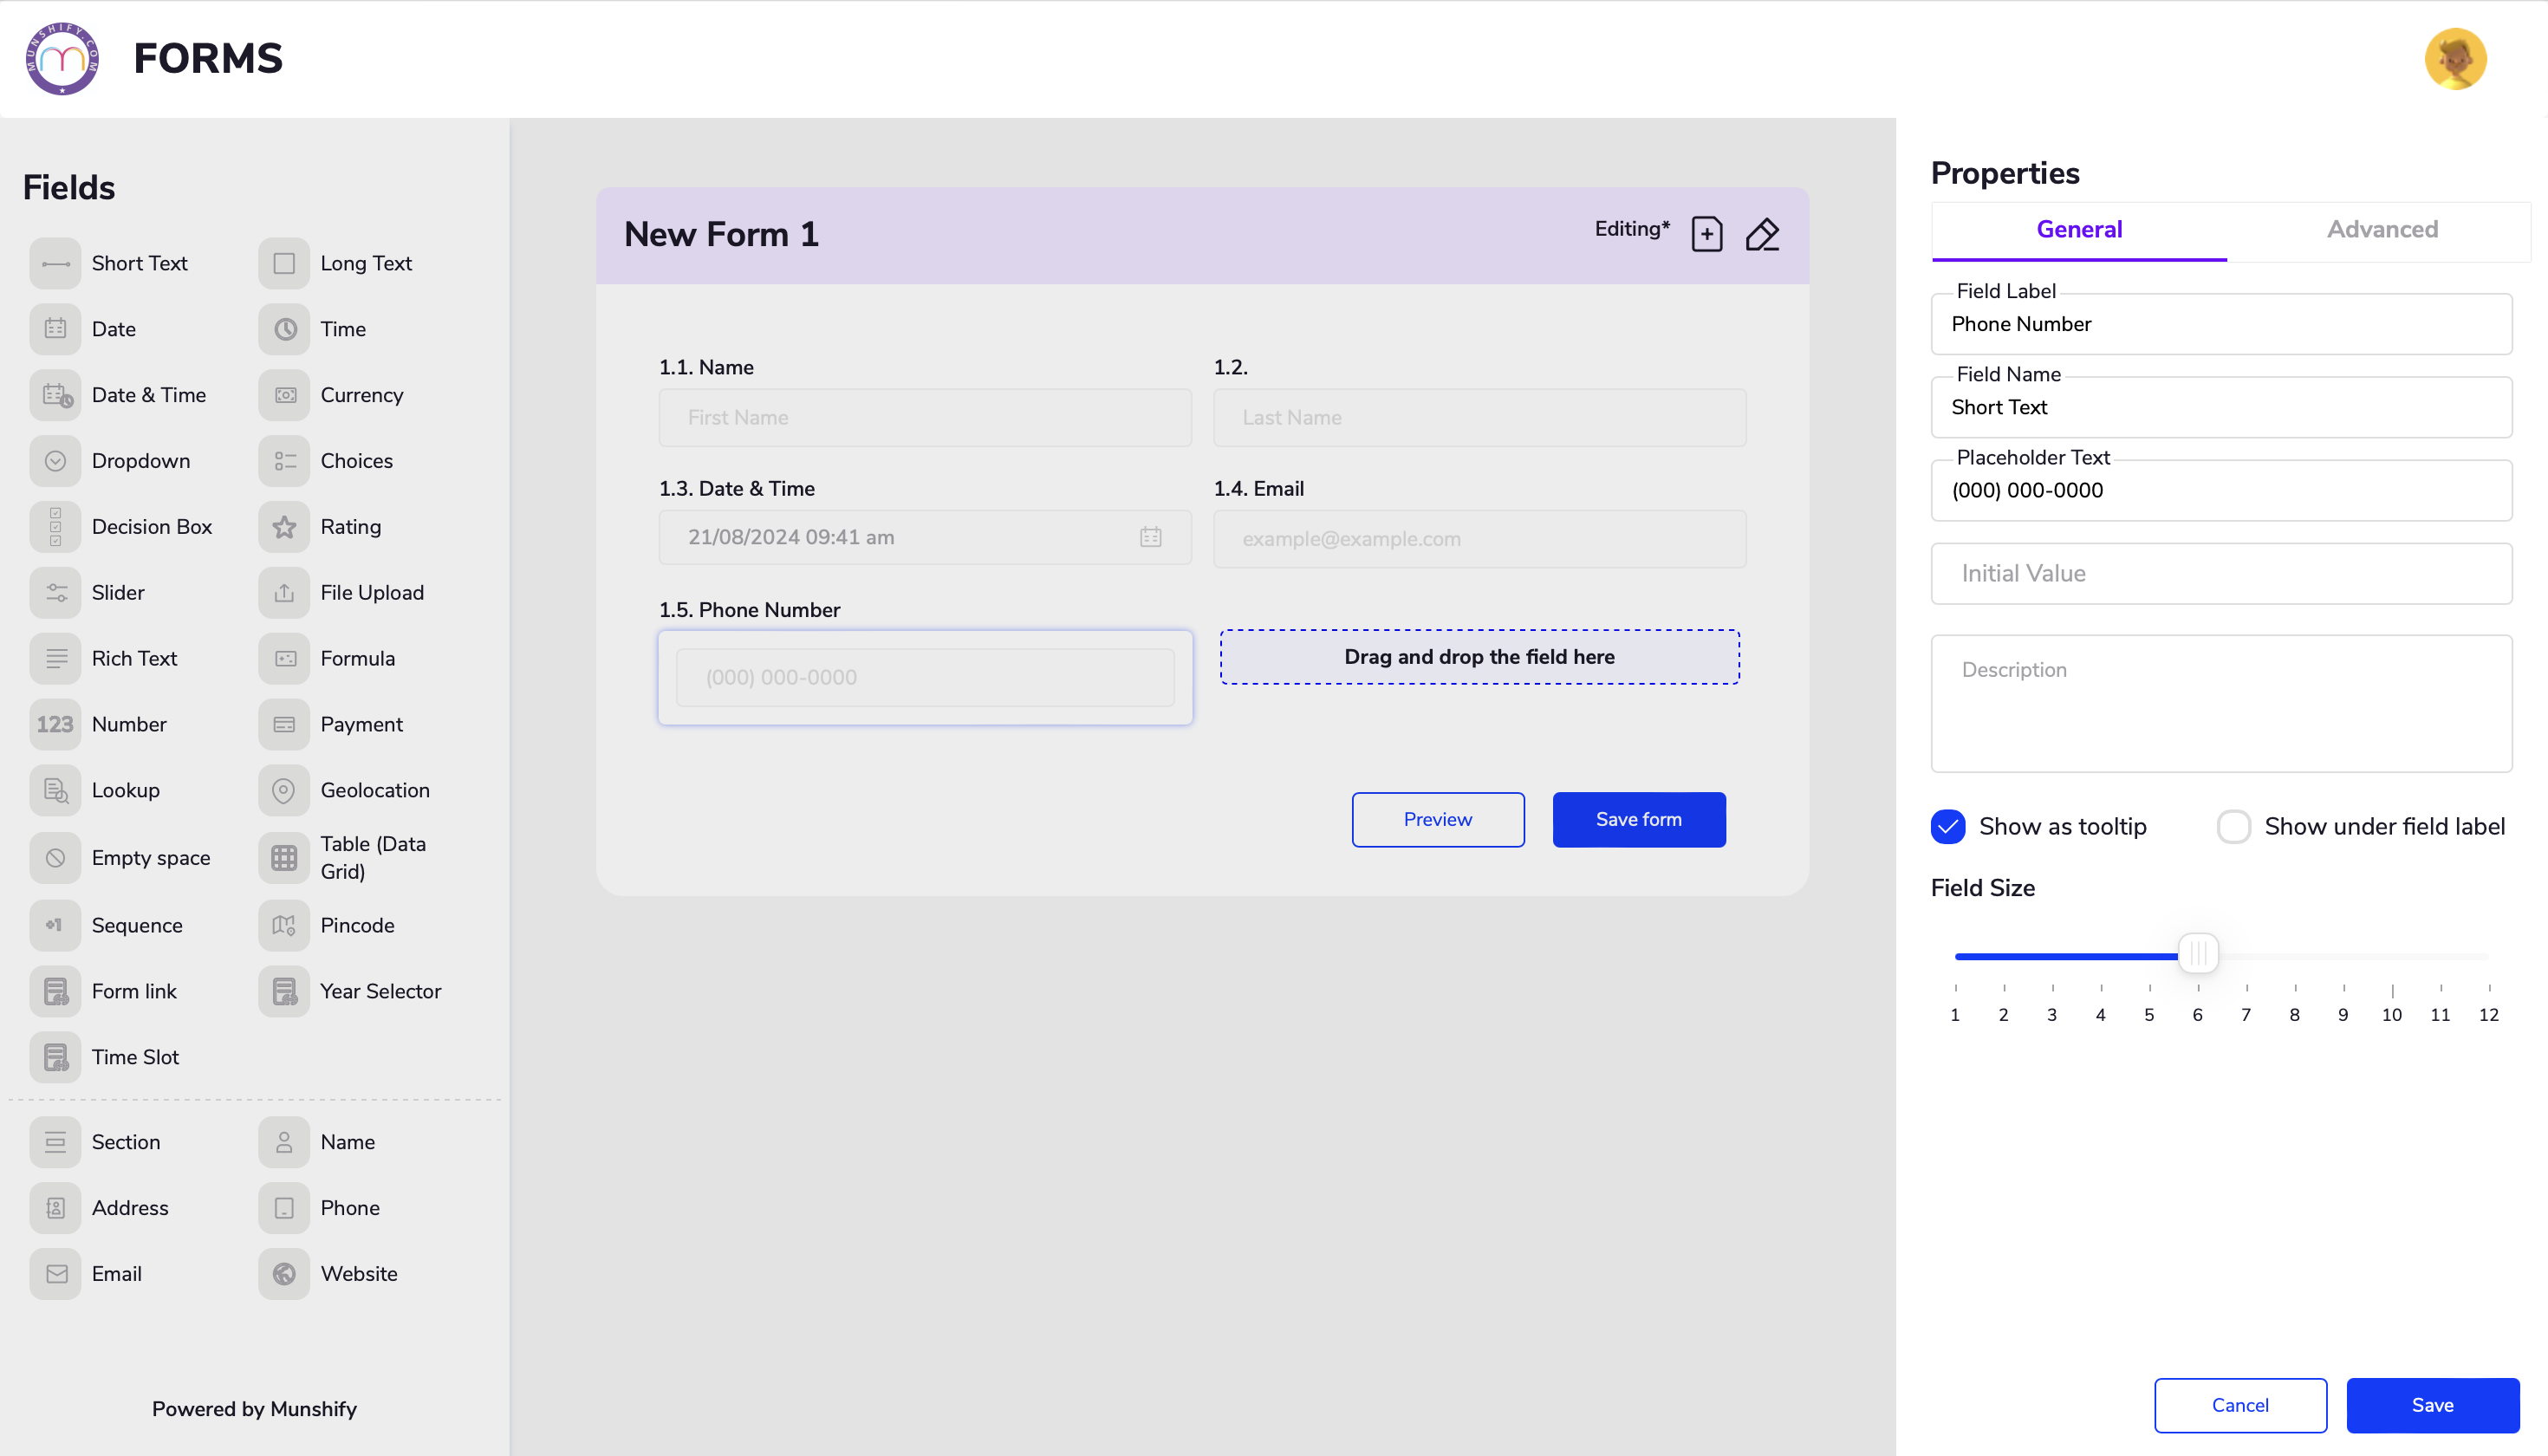
The screenshot below shows how you can add sub labels. You can either type directly into the field or enter the placeholder text located in the Properties section on the right.
2.4 How to Hide Form Elements?
Most elements in the Form Builder can be hidden from view. This is useful if you don’t want users to see specific values. You can easily configure this feature as needed.
You can hide an element in the methods we’ve outlined below.
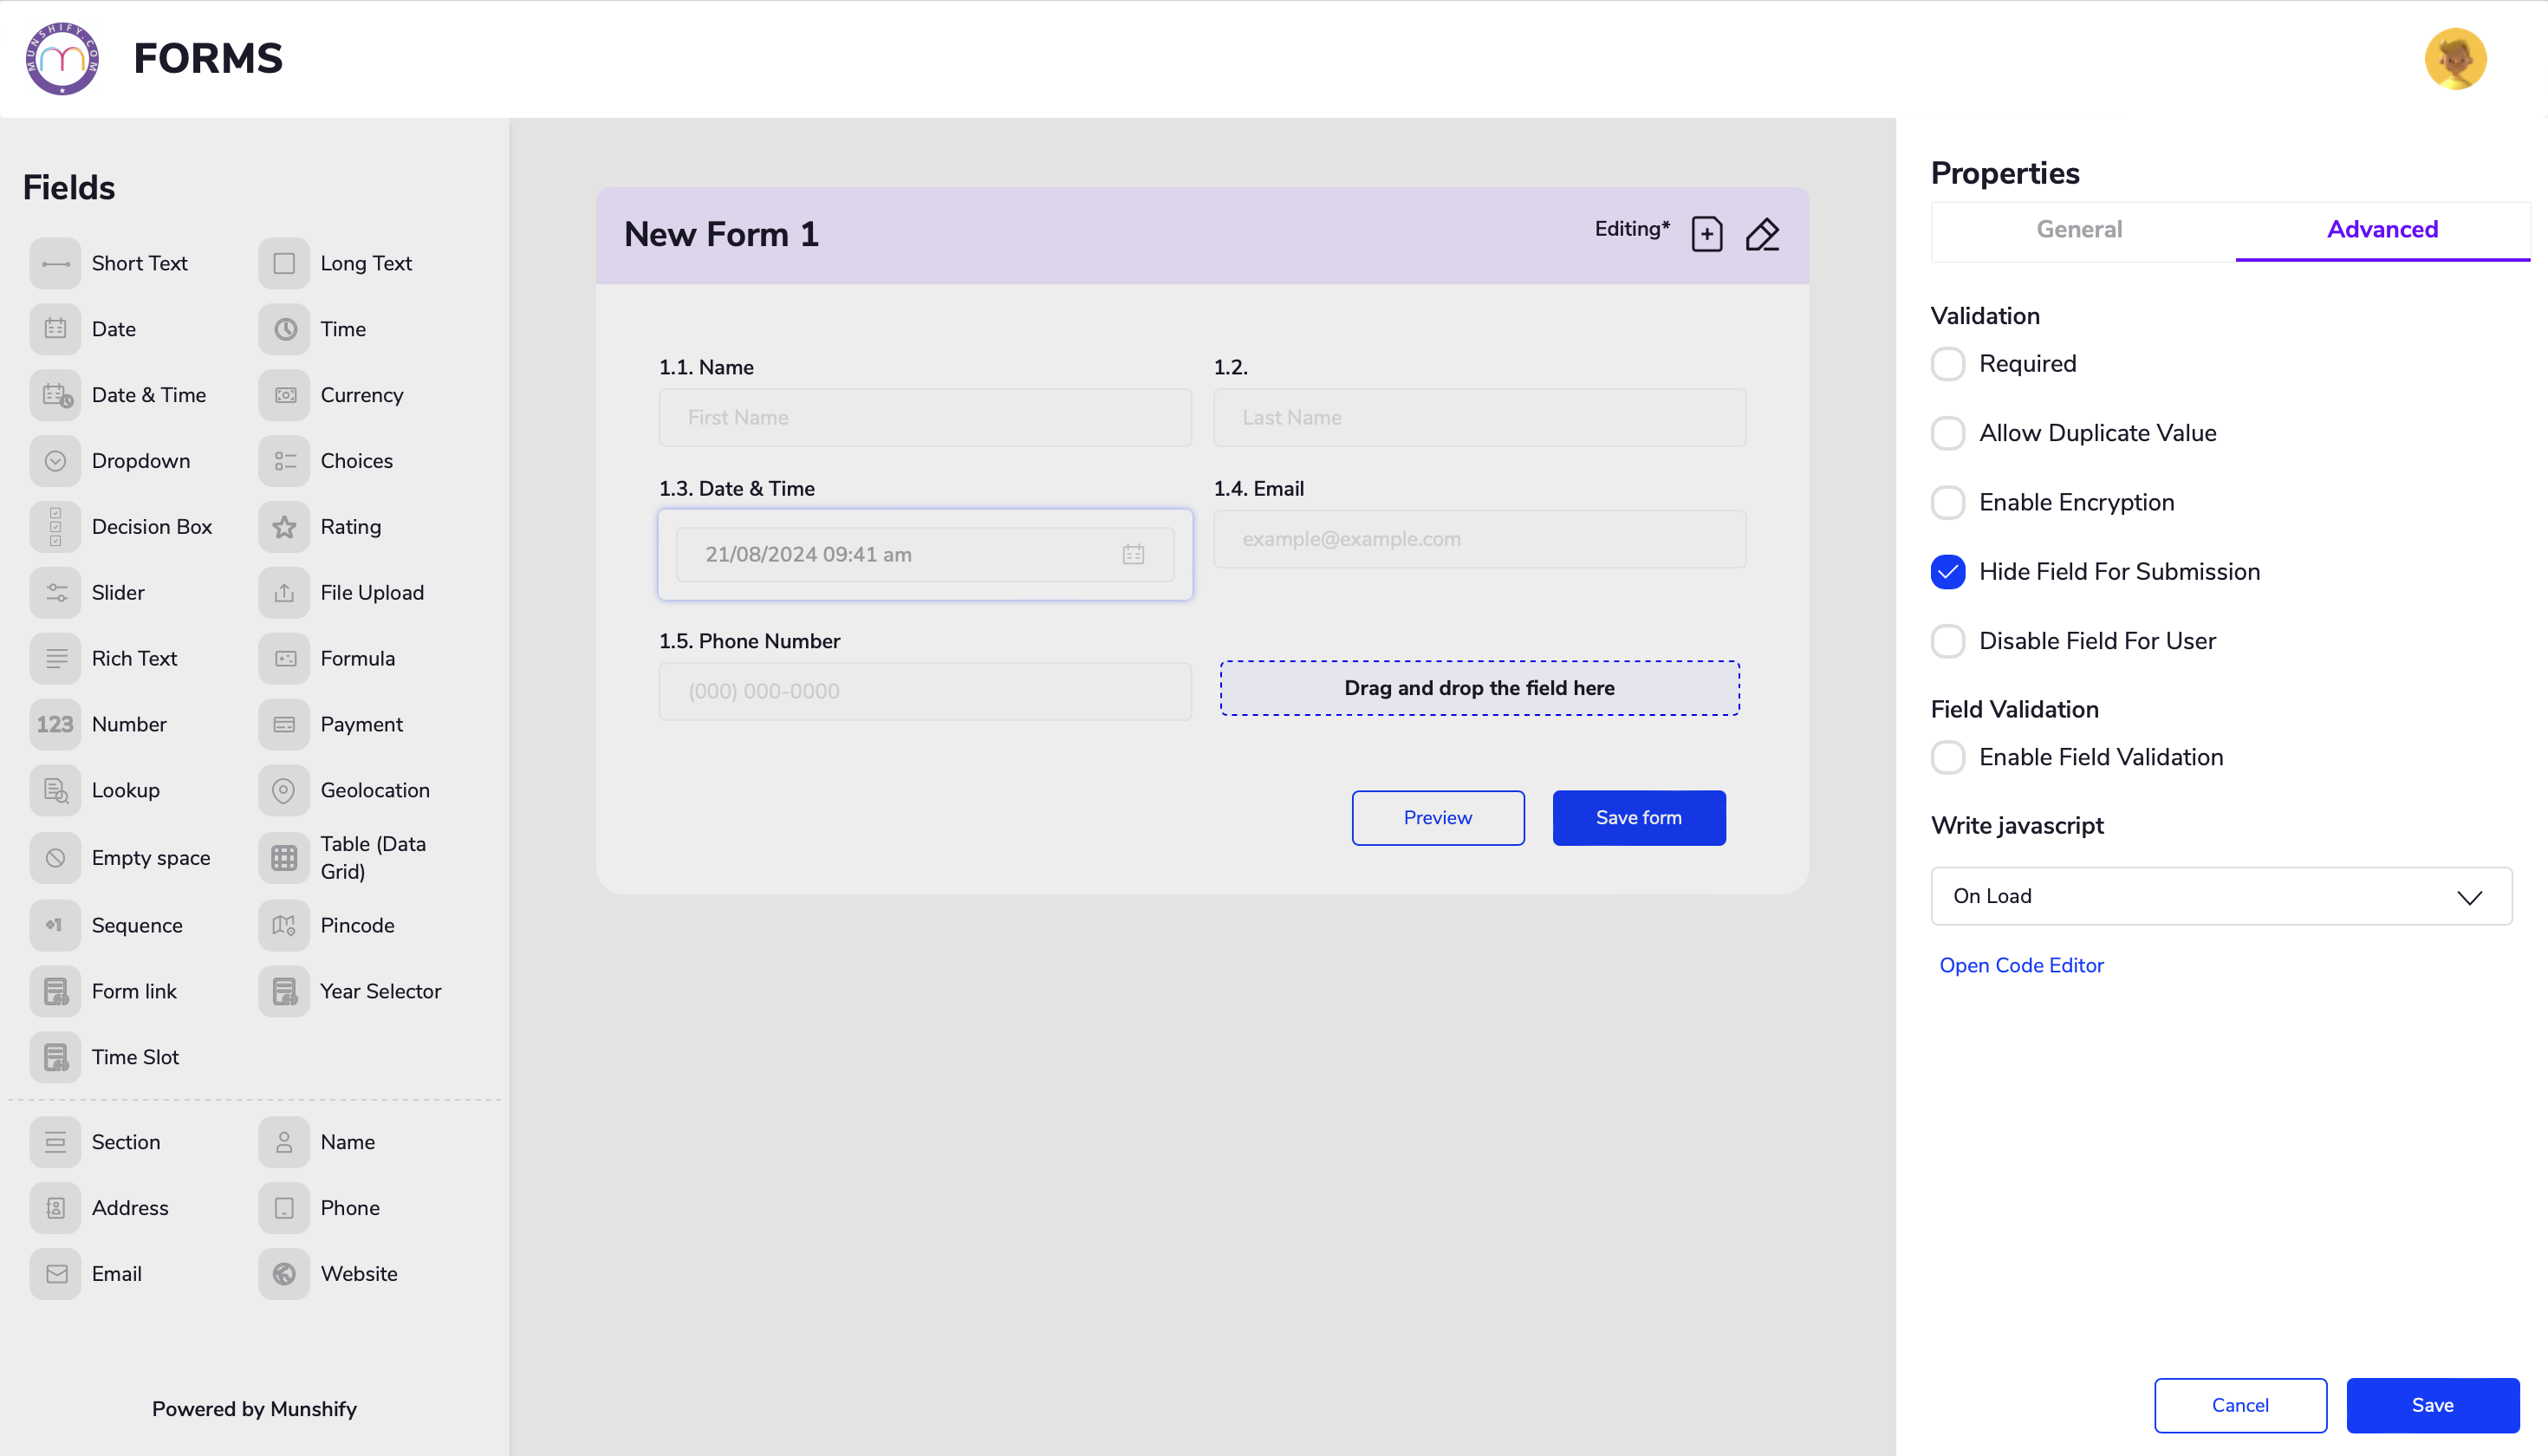
1. Click on the field you want to hide and select advanced under properties in the right
2. Now you can select hide field for submission and save
2.5 How to Set a Required Field?
New fields added to your form are optional by default, so users can submit the form without completing them. To require users to fill out a field, you must designate it as mandatory.
Require or Unrequire Fields through Element Properties
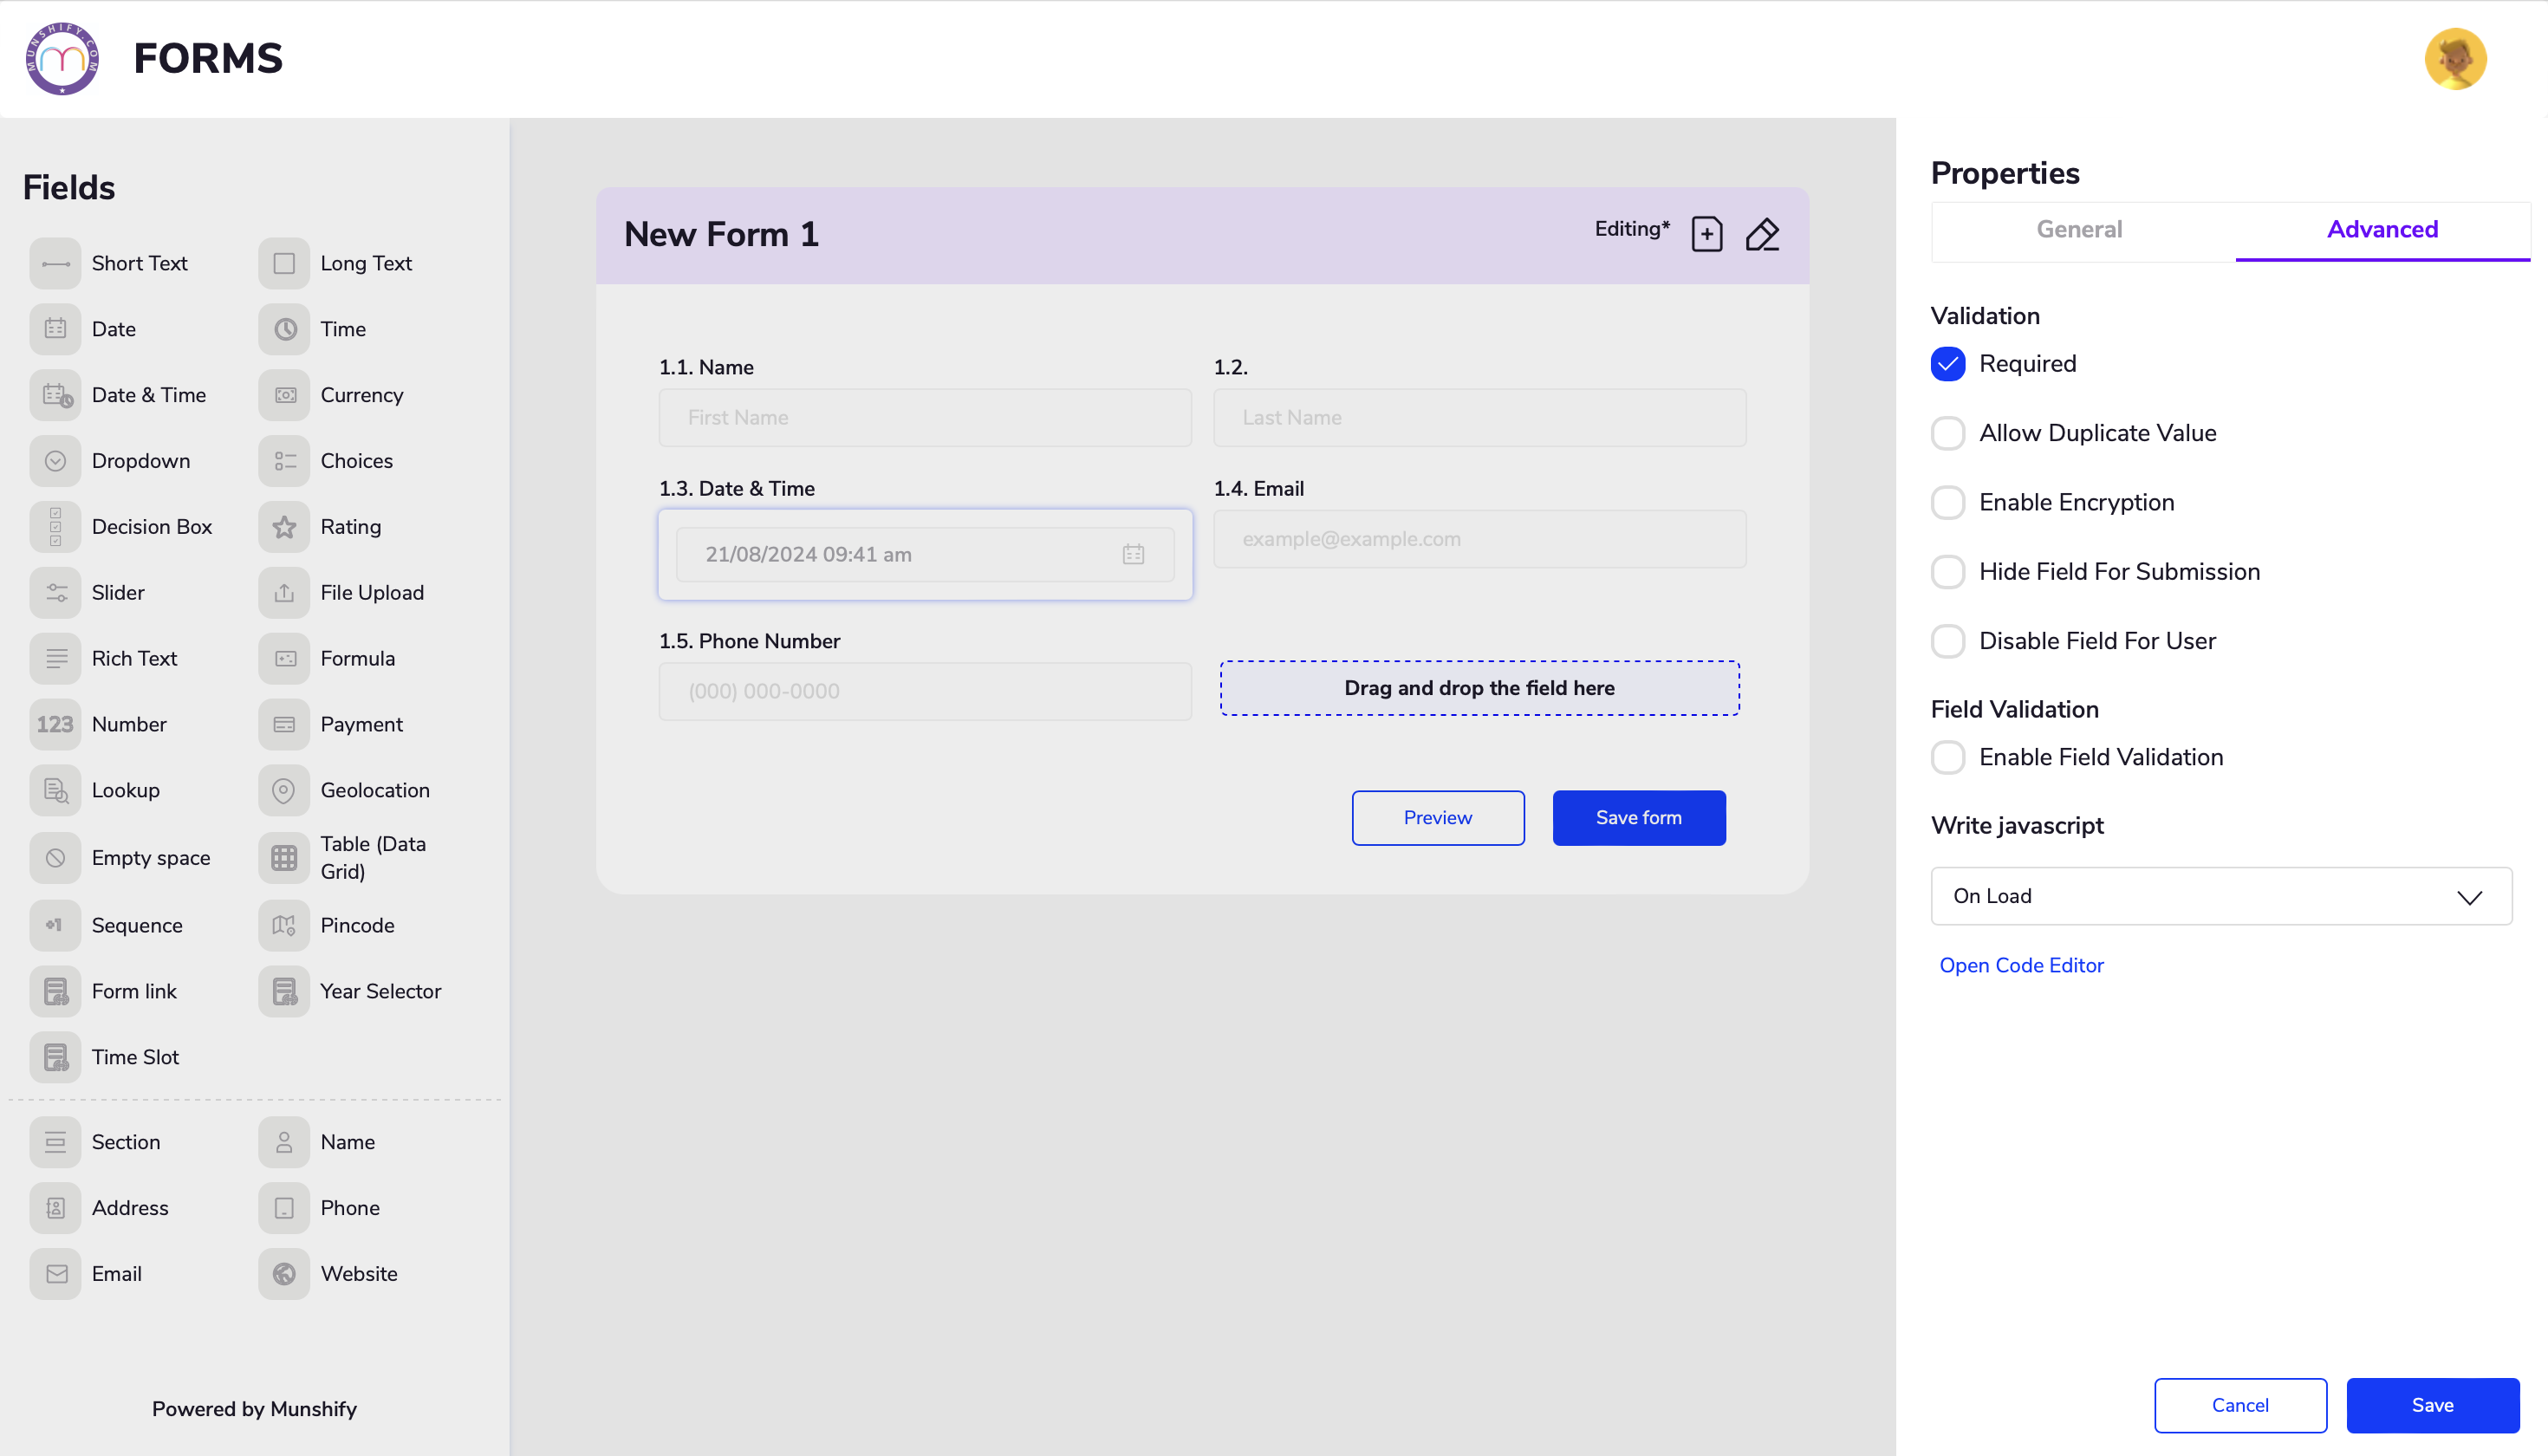
1. Select the desired feild in the Form Builder.
2. Click on advanced in the properties section on the left
3. Under the validation you can click on required (ensures that a user must complete a specific field before submitting)
2.6 How to Set Entry Limits on Short and Long Text Fields?
• The Short and Long Text fields are among the most frequently used in the Form Builder.
• The Short Text field is ideal for brief entries, such as a subject line, while the Long Text field is designed for more extensive text inputs.
• With these fields, you can specify entry or character limits.
• This feature lets you control both the minimum and maximum amount of text that can be entered.
Setting up Character Limit in Short Text Field
To set a character limit
1. Click the Short Text field in the Form Builder.
2. Select advanced properties
3. Select “Enable Field Validation” and choose “Text” as the value type.
4.Under Constraints, you can choose the validation type and set the character limit value.
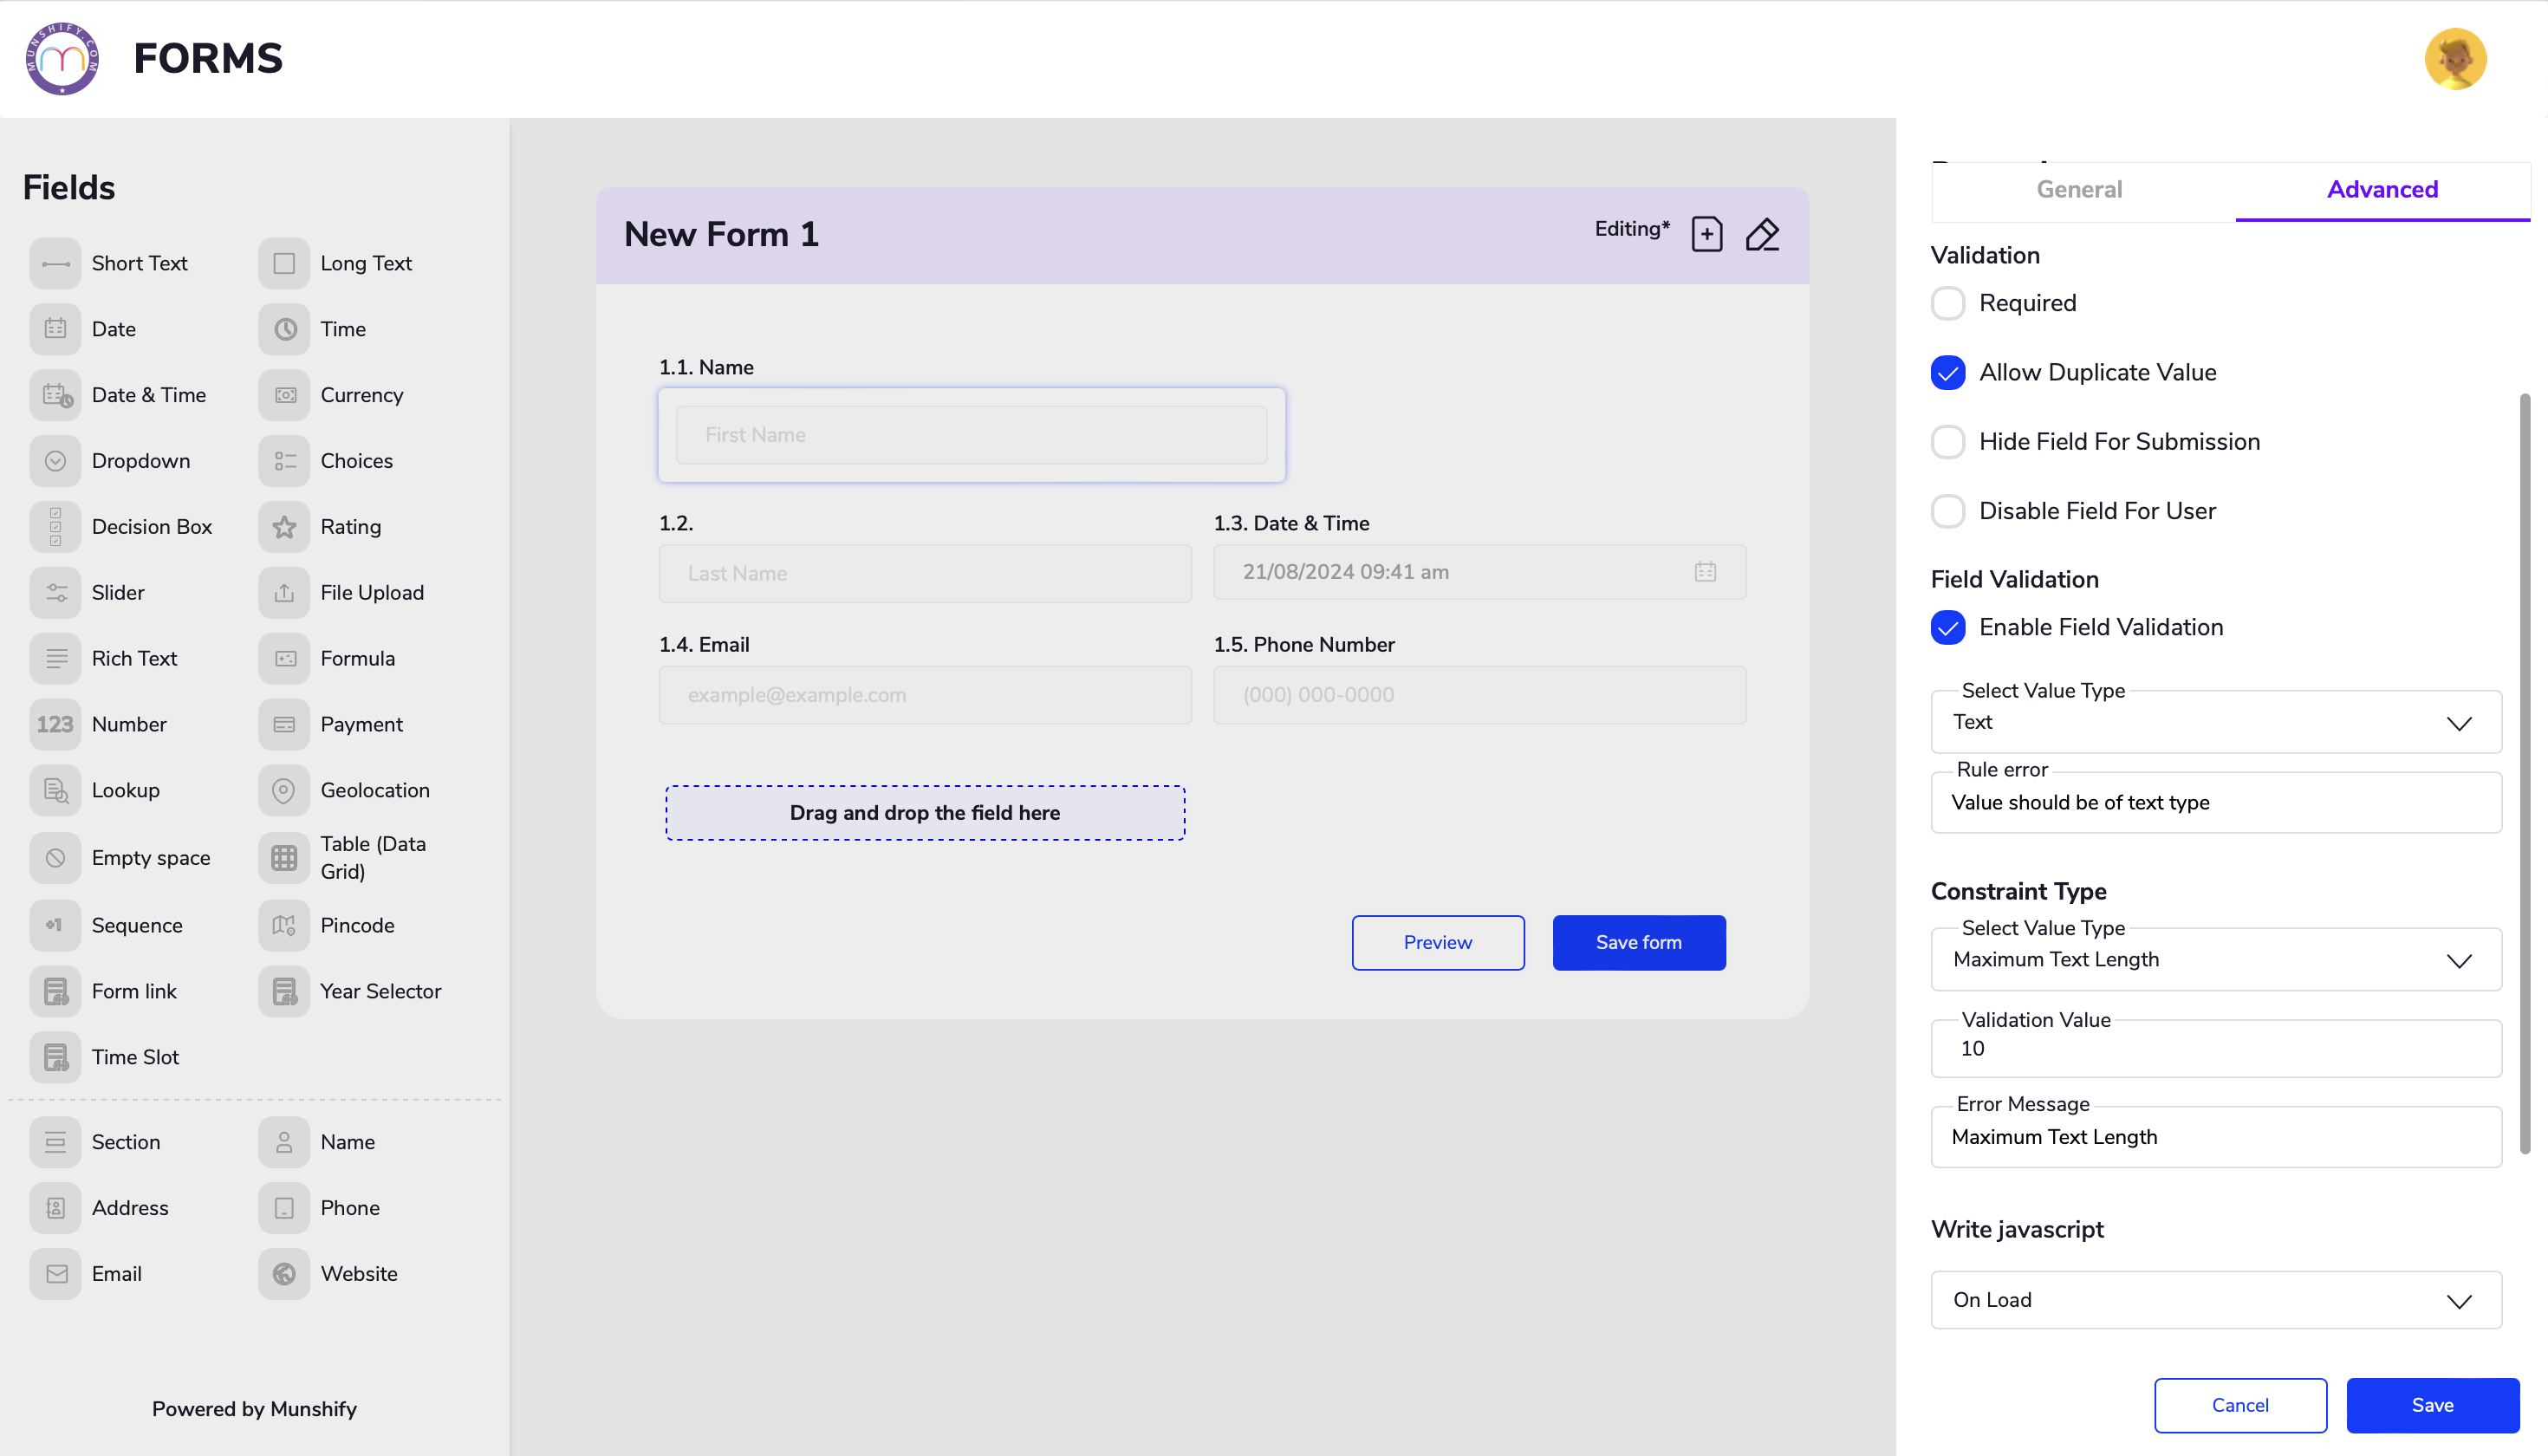
When a minimum value is set, the form will show an error if this minimum is not met. While there is no error for reaching the maximum value, the form will prevent any further input once this limit is reached.
