1.Getting Started with Munshify Forms
1.1 How to Create Your First Web Form?
Creating your first web form with Form Builder is simple and intuitive. You’ll start by selecting a template or building from scratch, then customize fields to suit your needs. Finally, you’ll configure settings like email notifications and publish your form with just a few clicks.
Decide What to Ask
Start by considering the questions you want to ask your users. Forms with higher conversion rates are typically short and simple. Users are likely to abandon a form if it’s too lengthy, so keep your forms concise and straightforward.
State the Purpose in the Heading
You understand the purpose of your form, but visitors to your webpage won’t know what it’s for unless you explain. Add a brief heading like “Contact Us” to your form, and if needed, include extra details in a subheading.
Use Predefined Form Fields
Ask your visitors for their name and email address so you can keep track of your form submissions and follow up with visitors. Select the desired field from the in the left corner of the Form Builder, all of the standard form elements appear on the left of the Form Builder.
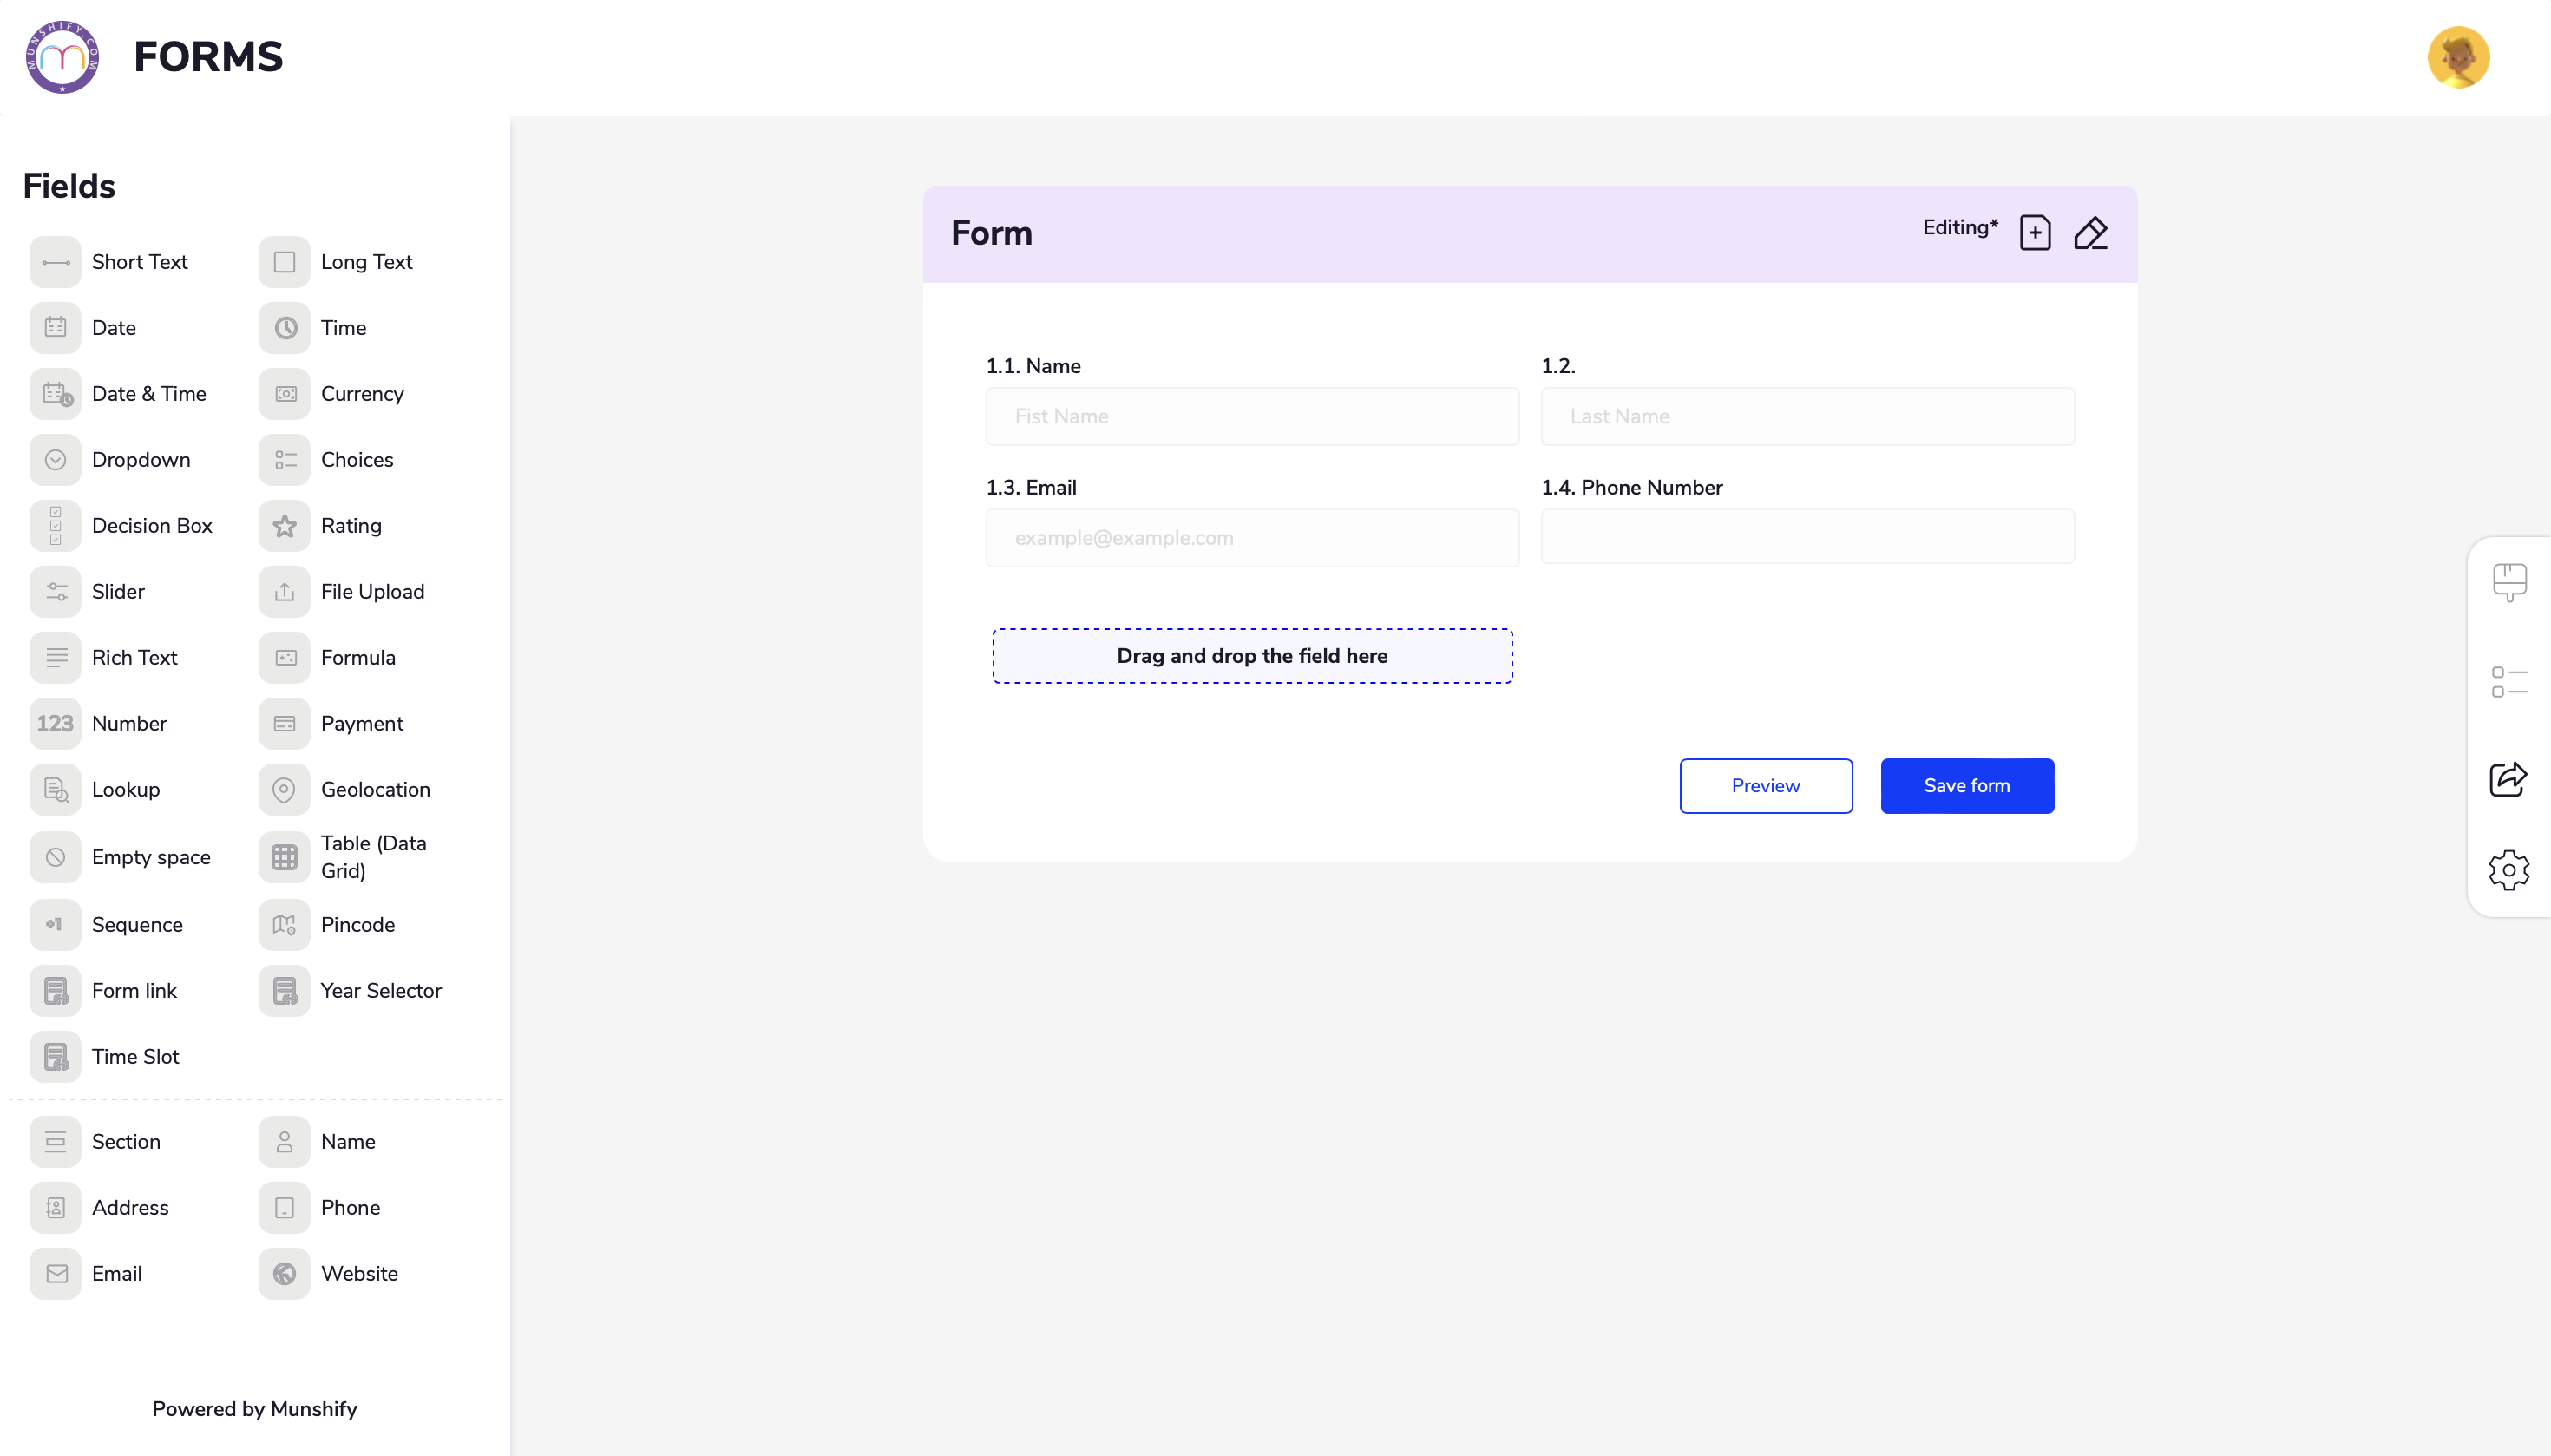
Use a Long Text Element for Long Answers
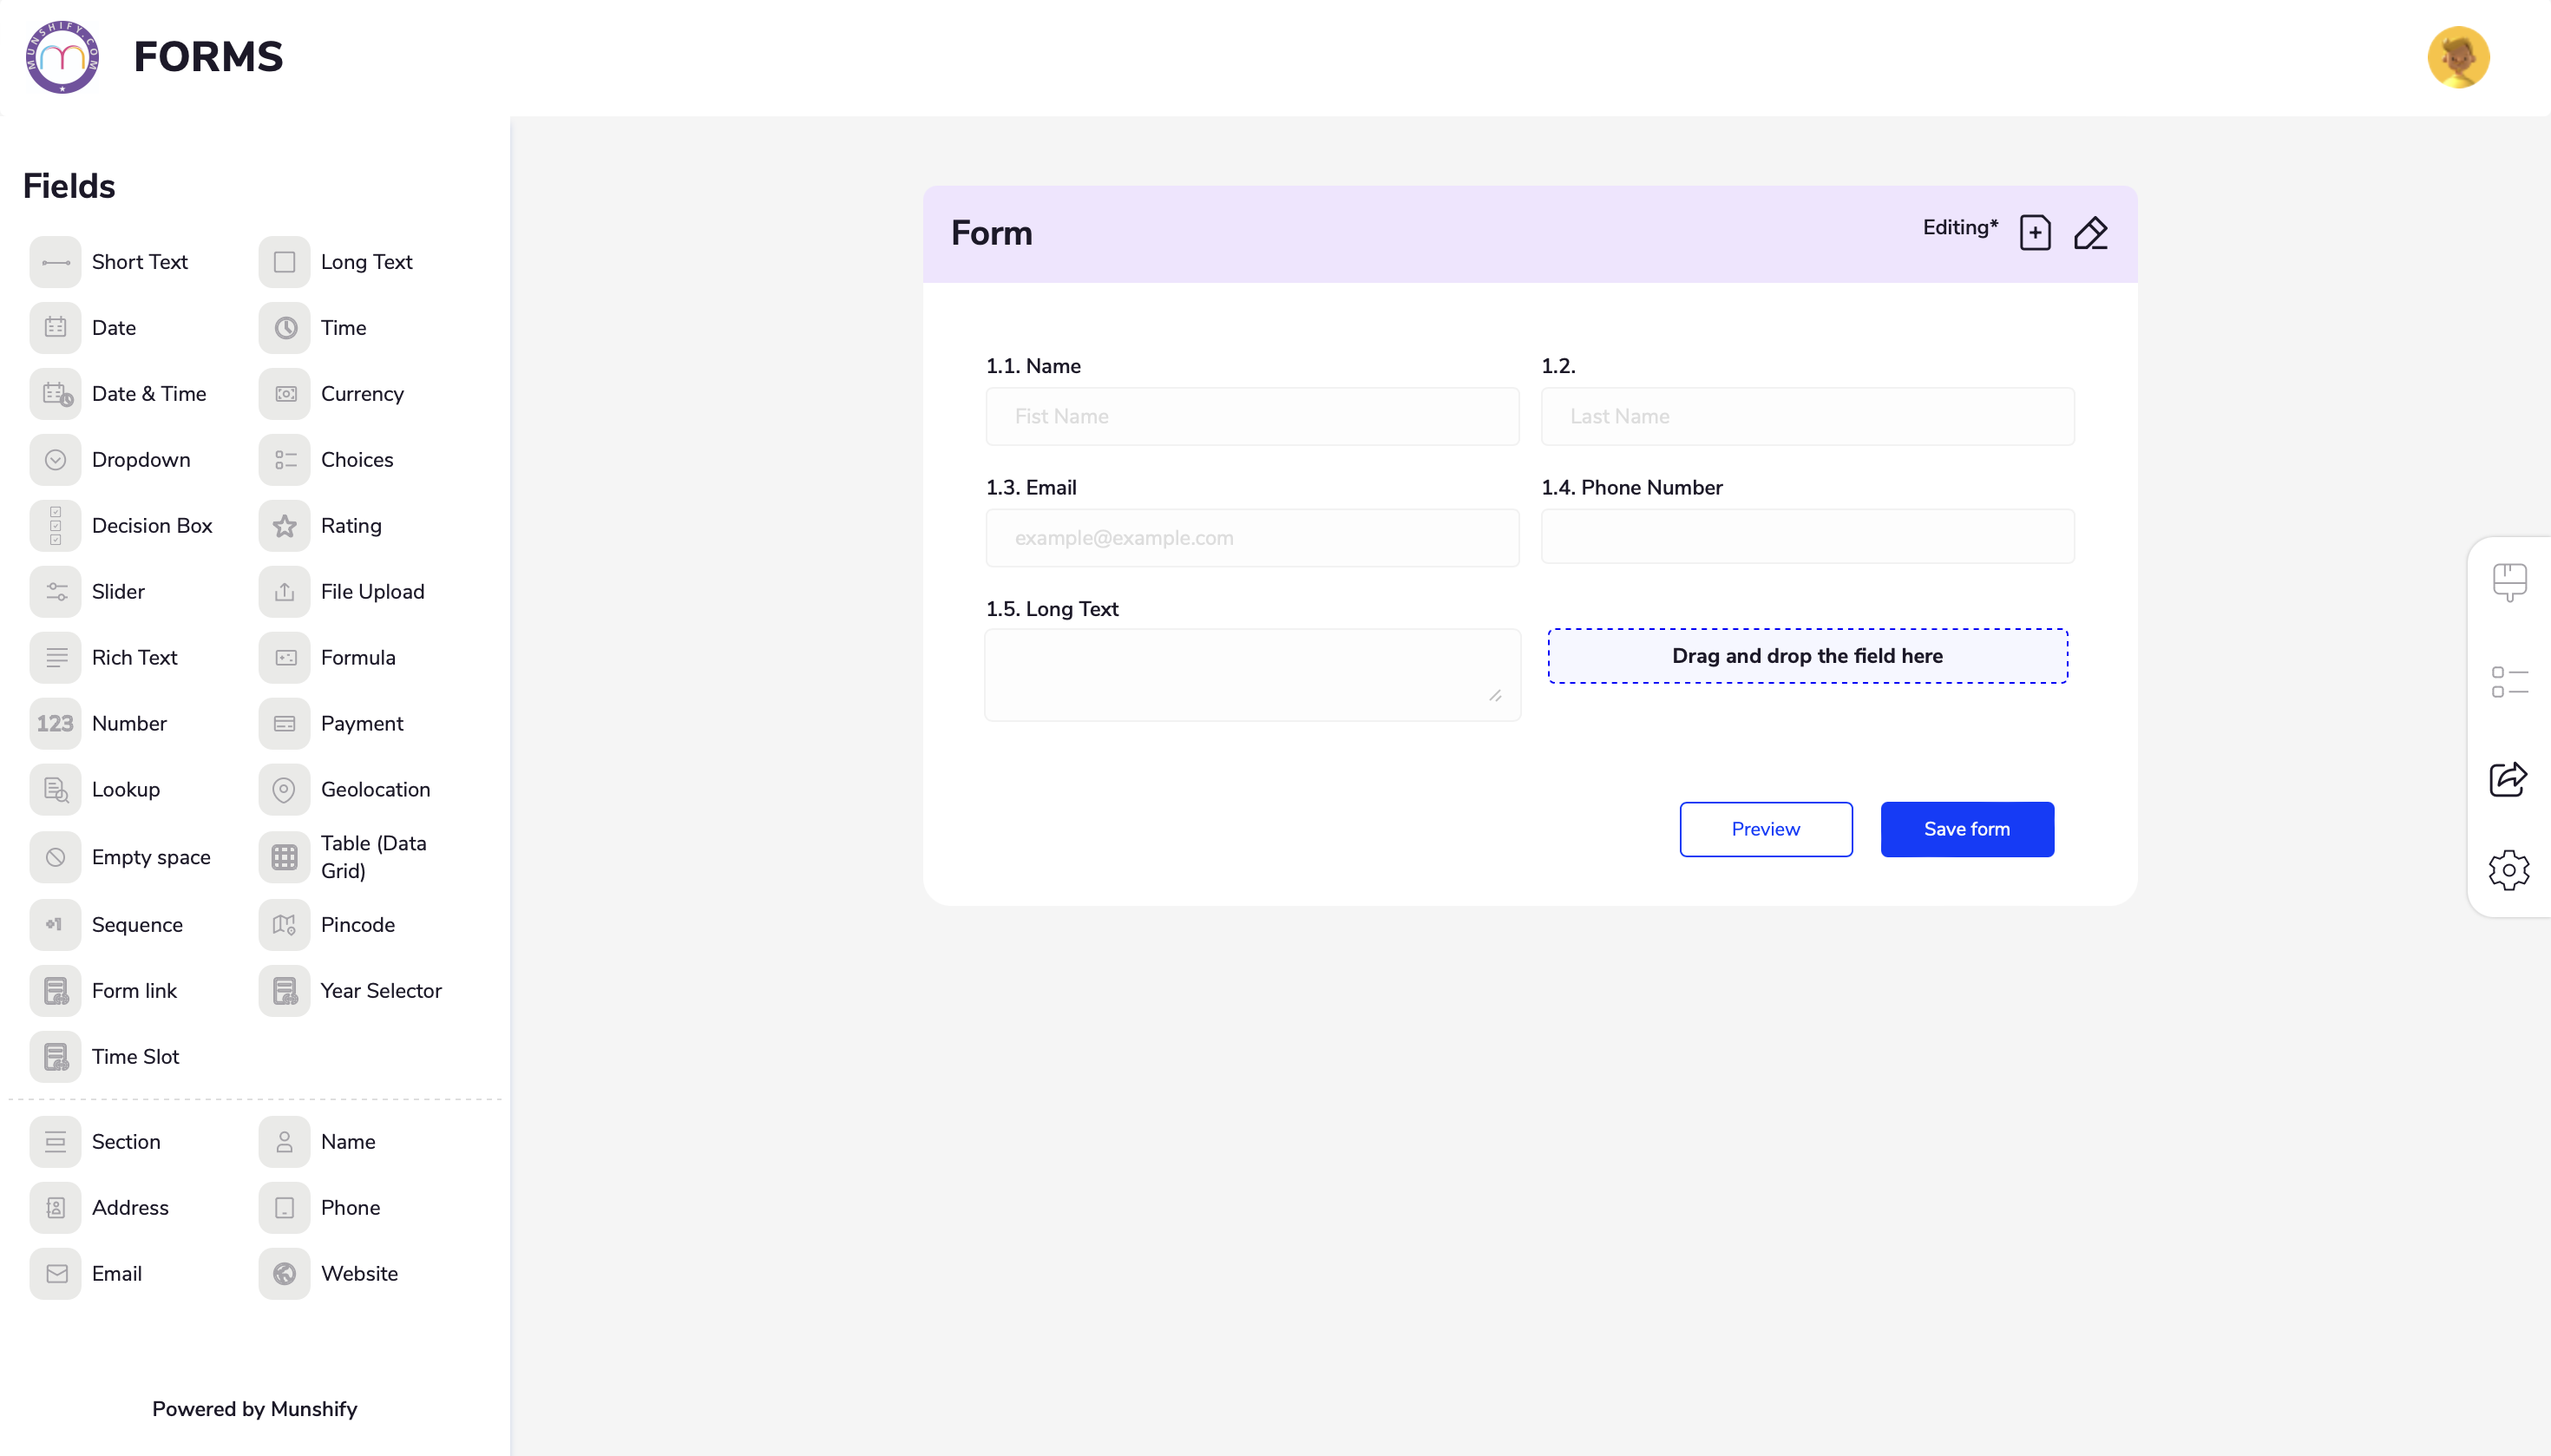
Embed Your Form Into a Website
Embedding your form on a website is essential for ongoing data collection. To get the embed codes, click on share on the right side of the Form Builder, then choose Embed on the left. Select the embed option that works best for your needs.
Ensure the embedded form is responsive and adjusts well to different screen sizes and devices for a seamless user experience.
Implement security measures such as SSL encryption to protect user data and ensure safe submissions through the embedded form.
Verify that the form displays and functions properly on mobile devices to accommodate users who access your website from smartphones and tablets.
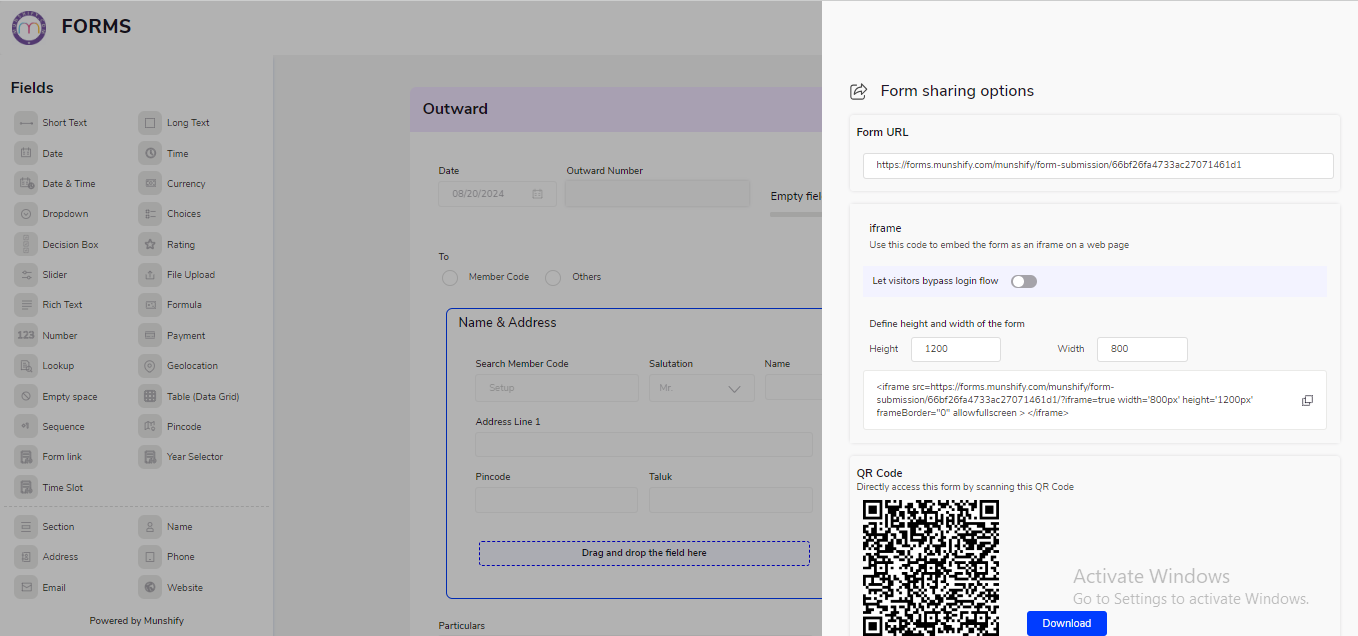
Test Your Form to See if It’s Working
Test your form on your live website to see if your Forms are working. Thoroughly test your forms to ensure data is being collected properly. If data isn’t being stored, revisit your form settings to confirm everything is set up correctly.
Congratulations on completing your first form! If you ever need help, don’t hesitate to revisit this guide. We’d love to hear about your experience creating your first form—share your thoughts in the comments below.
1.2 Quick Overview of Form Elements
Form elements in Form Builder are the building blocks of your webform. These include basic fields like text boxes and dropdowns, as well as more advanced options like file uploads and payment integrations.
Quick Elements
Quick Elements list, the most commonly used form elements.
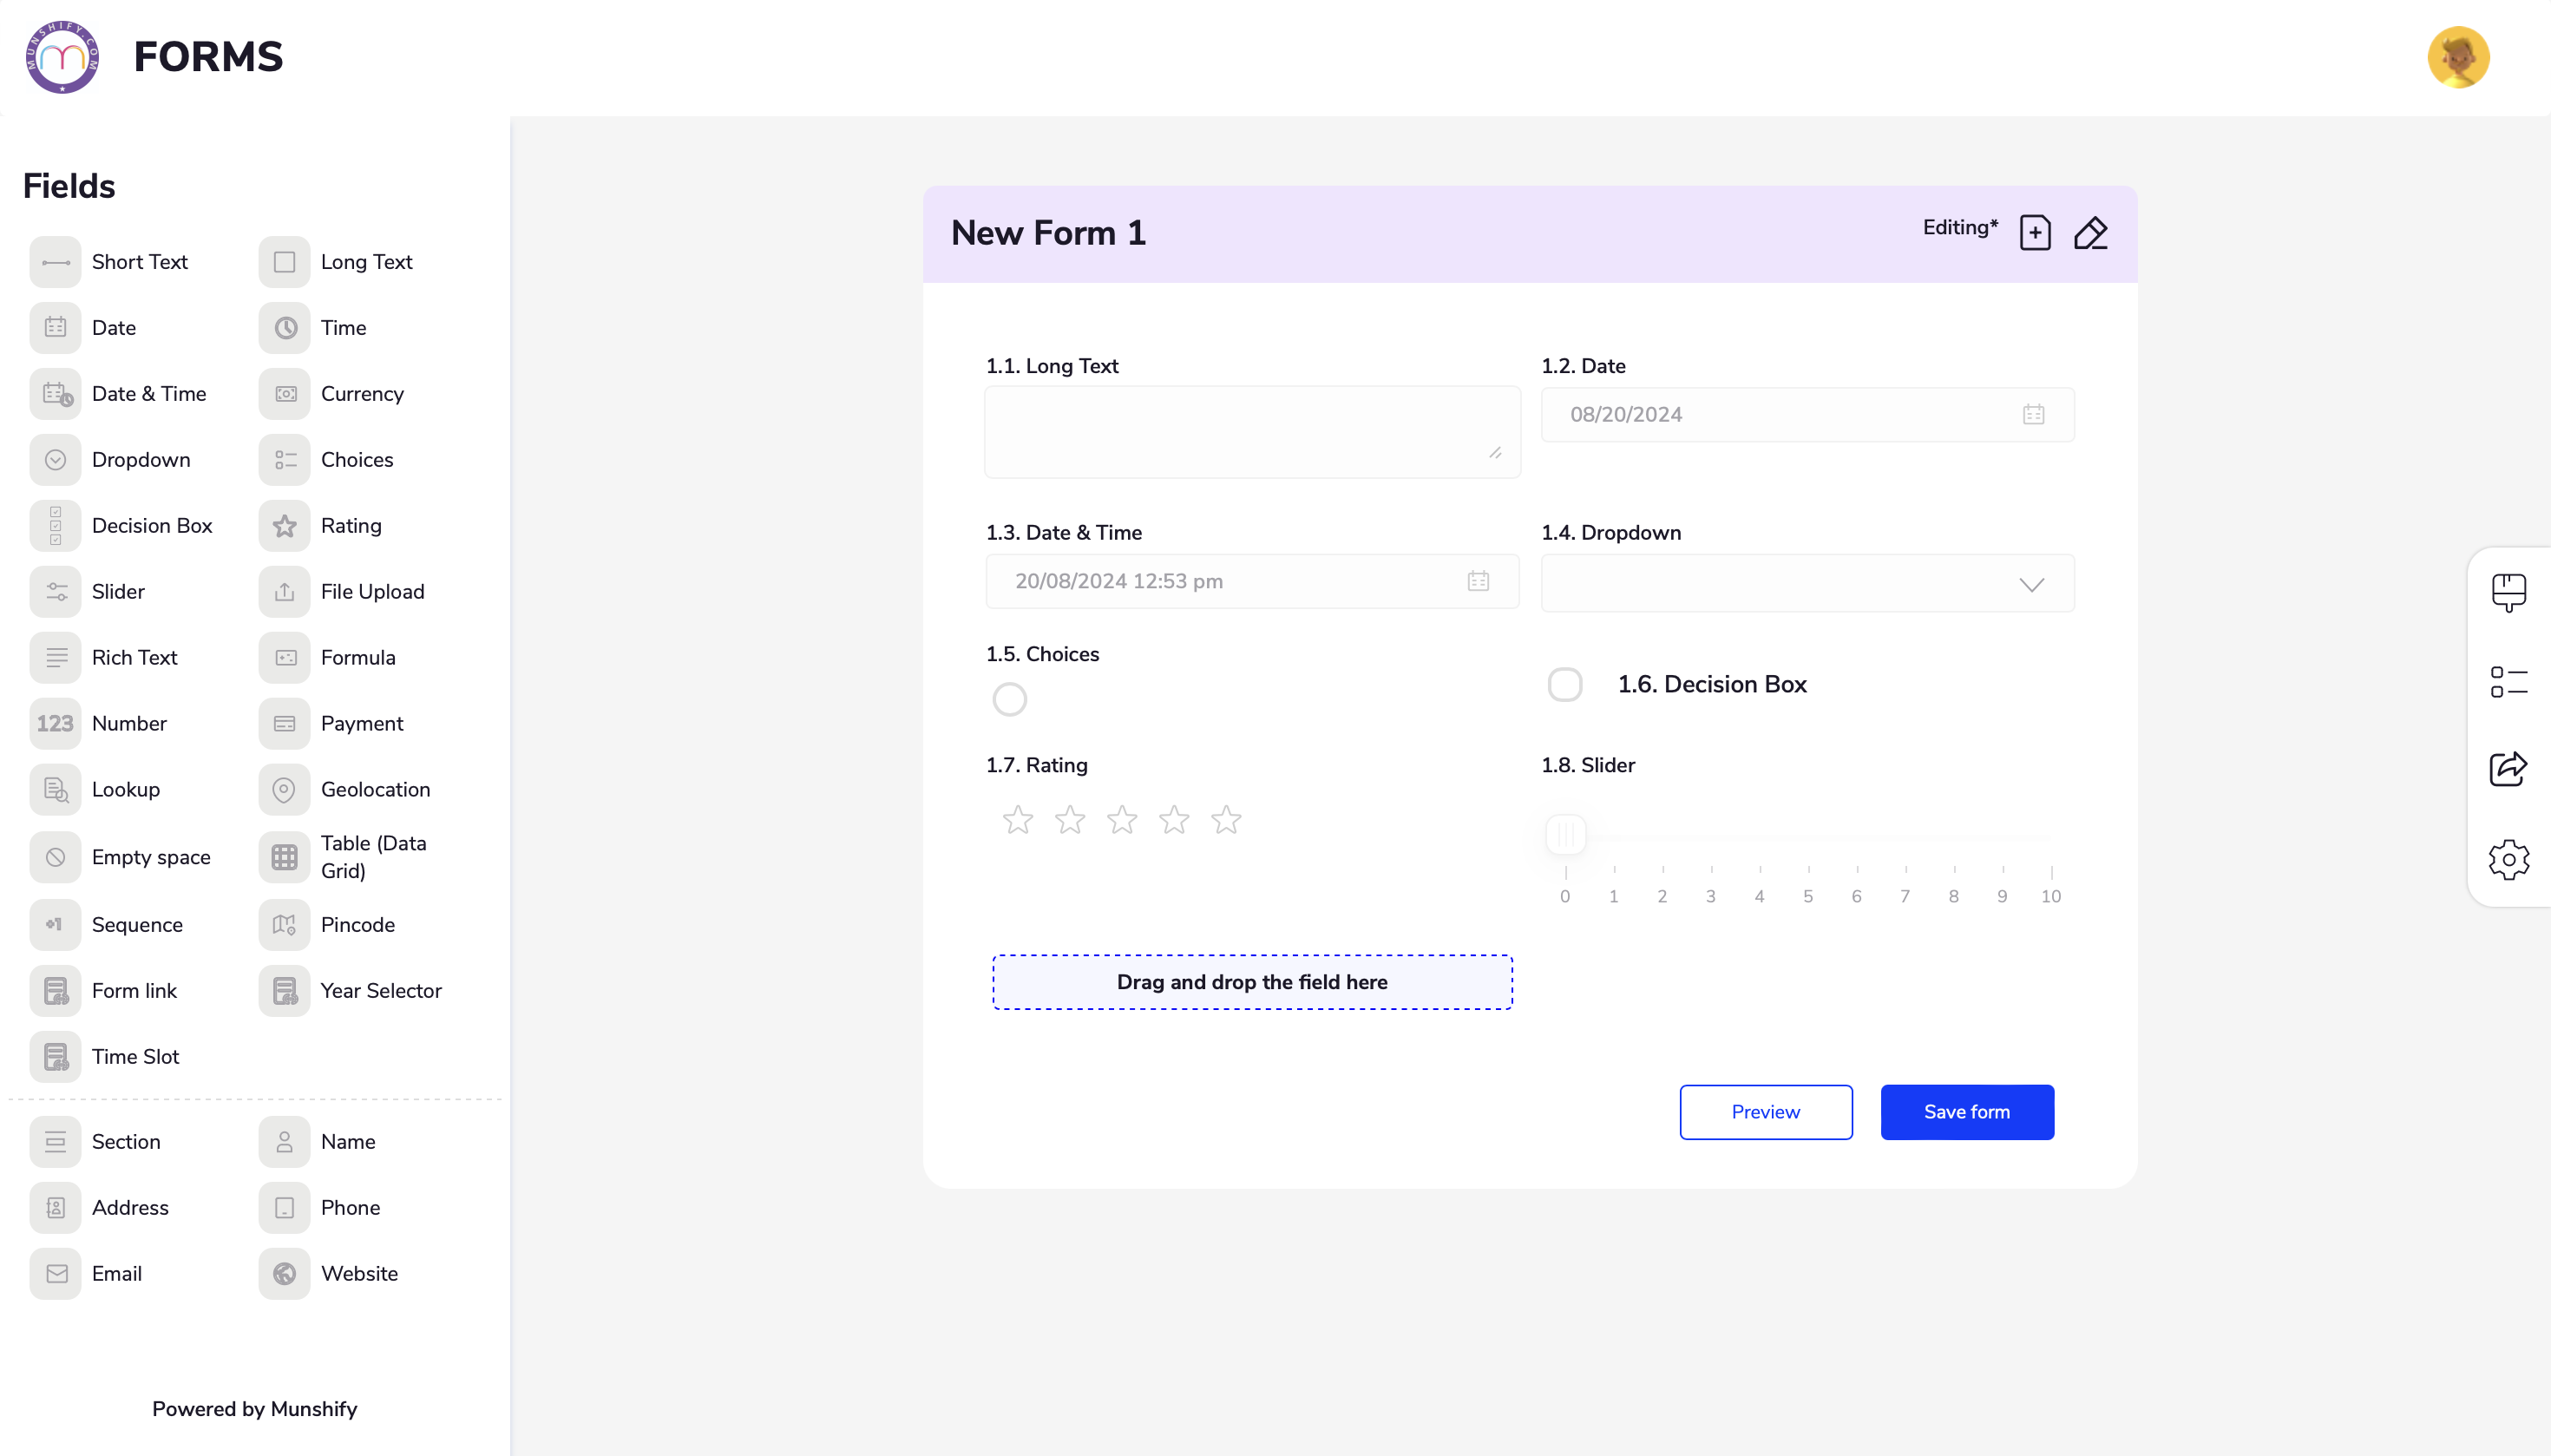
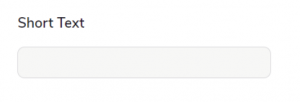
1.Short Text
The Short Text field is a single-line text input that allows users to enter brief or concise information. It is typically used for capturing names, email addresses, phone numbers, titles, or any other short pieces of text data
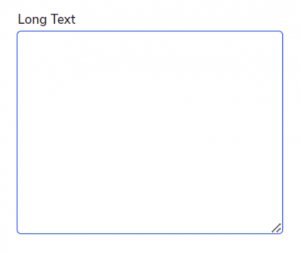
2. Long Text
- The “Long text functionality” typically refers to a text input field that allows users to enter and edit larger blocks of text, such as paragraphs, essays, comments, or other lengthy content
- Unlike short text fields, which are used for brief input, long text fields provide users with more space to express themselves and provide detailed information.
3. Date
A date field is a common type of input field in forms that allows users to enter a date. Depending on the system and the specific needs of the form.

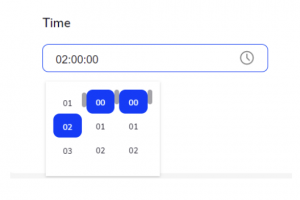
4. Time
A time field in a form allows users to select a specific time. It’s typically used in conjunction with a date field to specify an exact date and time for something, such as an appointment.
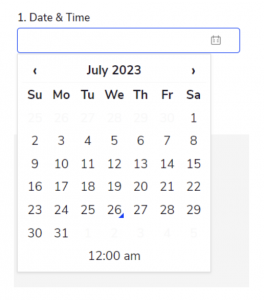
5.Date and Time
The “Date and Time” field in a form allows users to enter both a date and a time. This can be especially useful when scheduling events or setting deadlines that are more precise than just a date.
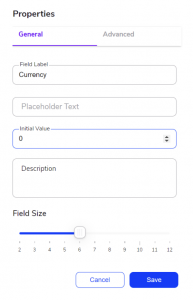
6. Currency
The “Currency” field in a form is used when you want users to input a monetary amount. This type of field allows users to enter numeric data, and it usually includes a symbol that represents a specific currency (like $ for USD, £ for GBP, € for EUR, etc.).
7. Drop Down
The Dropdown Field allows you to select one option from a list. When you click on the Dropdown Field, it expands to display a list of choices. After making a selection, the list collapses, showing only your chosen option.

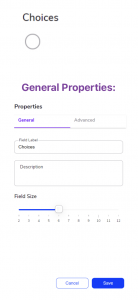
8. Choices
- The “Choices” field in a form, often also known as a radio button field or a checkbox field, provides a set of predefined options for users to select from.
- This field type is commonly used for multiple choice questions, agreement to terms and conditions, selecting preferences, etc.
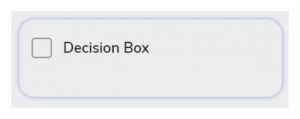
9. Decision Box
10. Slider
A Slider field in a form allows users to select a value by sliding a handle or lever along a scale. This can be especially useful for subjective measures or ranges where a precise numerical input isn’t required.

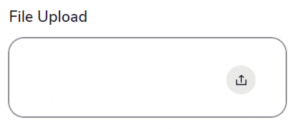
11. File Upload
12. Rich Text

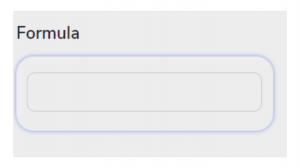
13. Formula
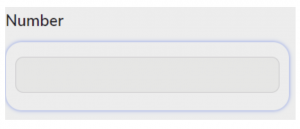
14. Number
15. Empty Feild

Survey Elements
Easily build your questionnaire and survey forms with Survey Elements.
1. Table (Data Grid)

2. Rating
The Rating field in a form is a tool that allows users to provide feedback or express opinions by choosing a value from a pre-determined range, typically in the form of stars or numerical values.

3. Payments

1.3 Does Munshify Form offer free trail
We are located at

eReleGo Technologies Pvt Ltd
646, 52, 12th Main Rd,
2nd Block, Rajajinagar,
Bengaluru, Karnataka 560010
